Gordon Lichtstein
A website for my code, projects, and bio
AWS SageMaker Setup, User Creation, and Hello World
Navigating to SageMaker
First, navigate to the Campus Cloud AWS access portal. This may have been sent to you in an email, and you may need to sign in with your UCSF account to access it.
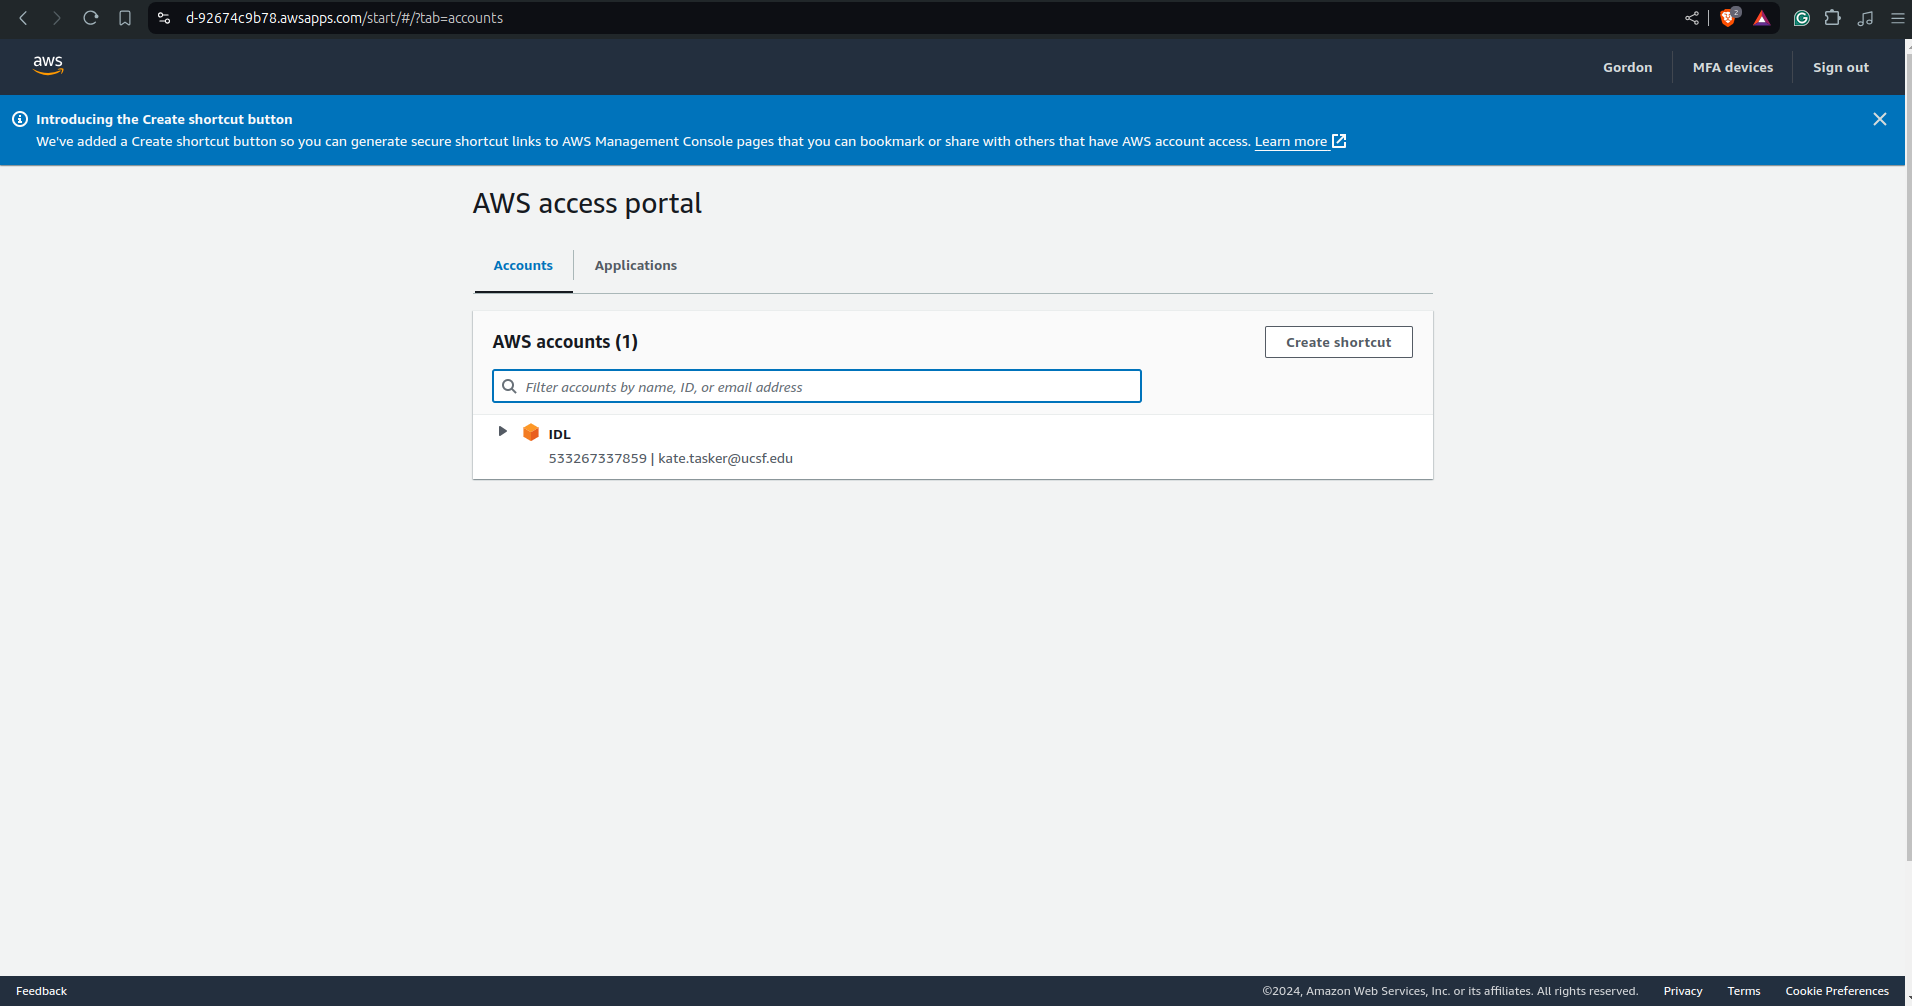
Now click on the triangle next to “IDL” to expand it, revealing the AWSAdministratorAccess and Access keys links
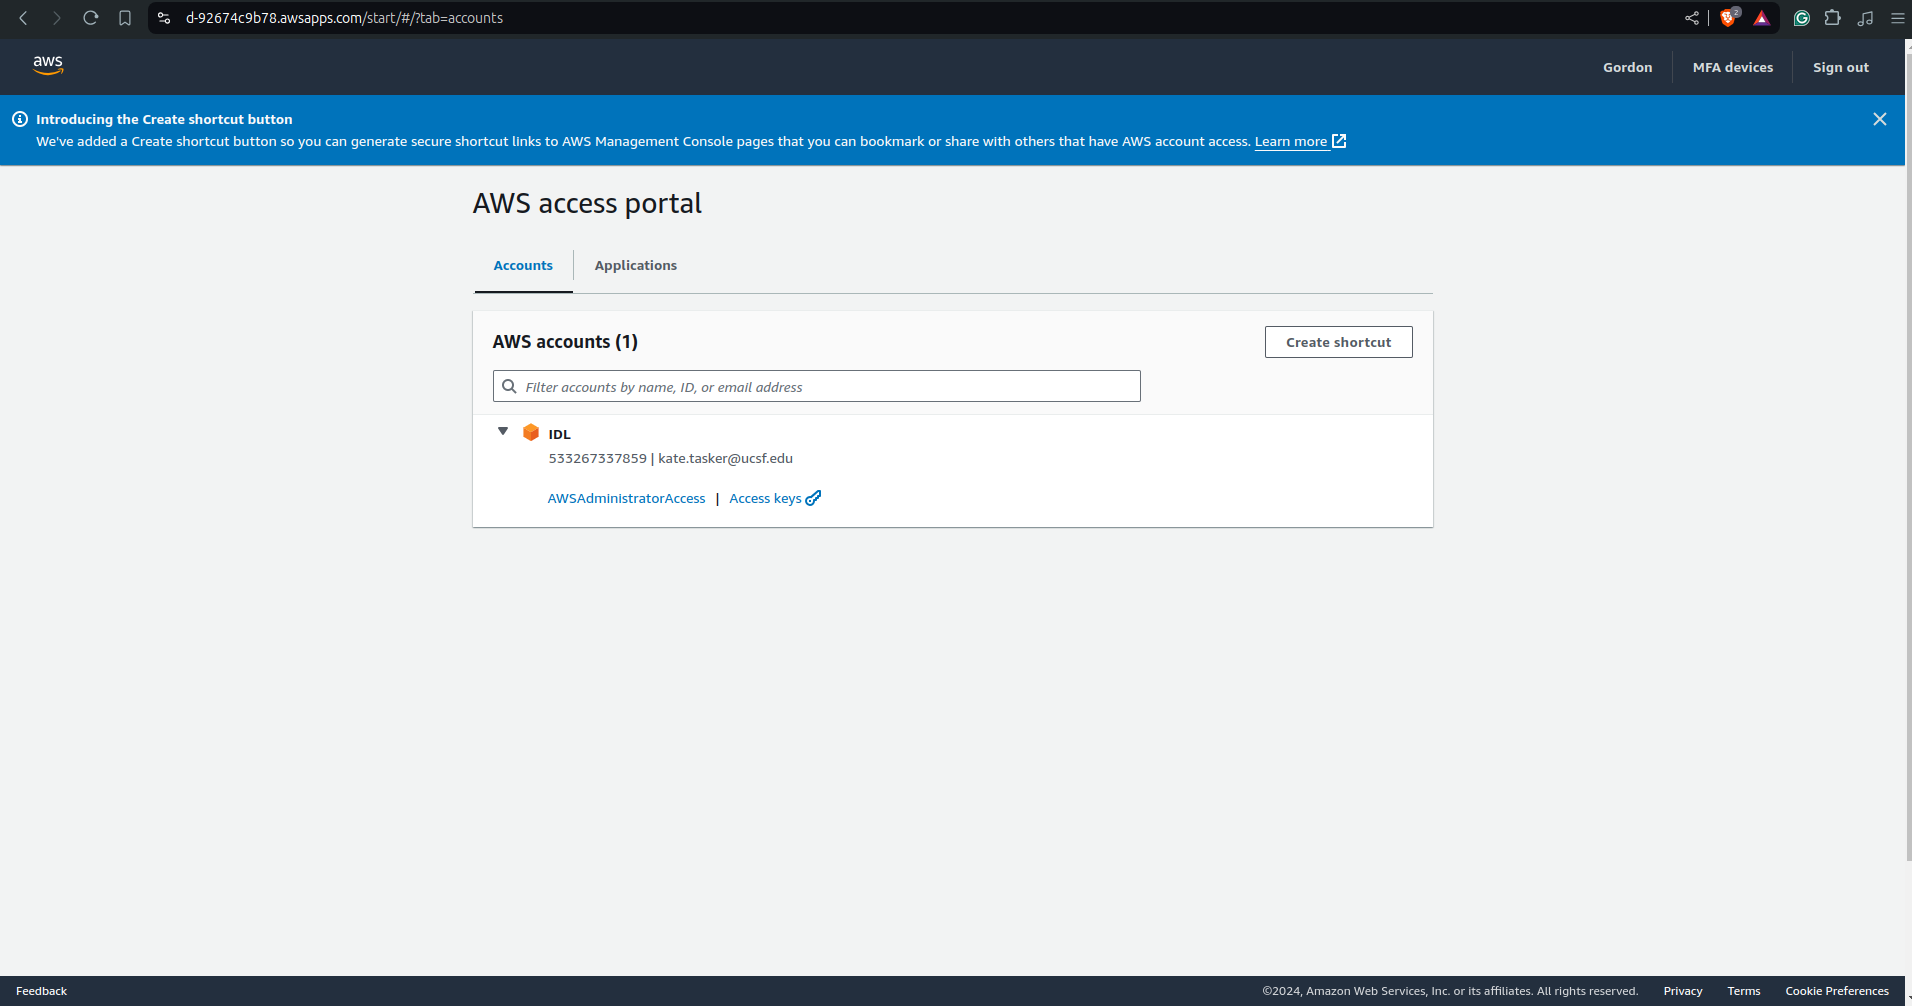
Click on AWSAdministratorAccess. This opens up a new tab with the AWS Console. You can see some important apps on the top utility bar and under “recently visited” on the left half of the screen. The user you are signed in as is displayed in the top right. You can see the current amount we have spent in the bottom left. Hopefully this number isn’t very high.
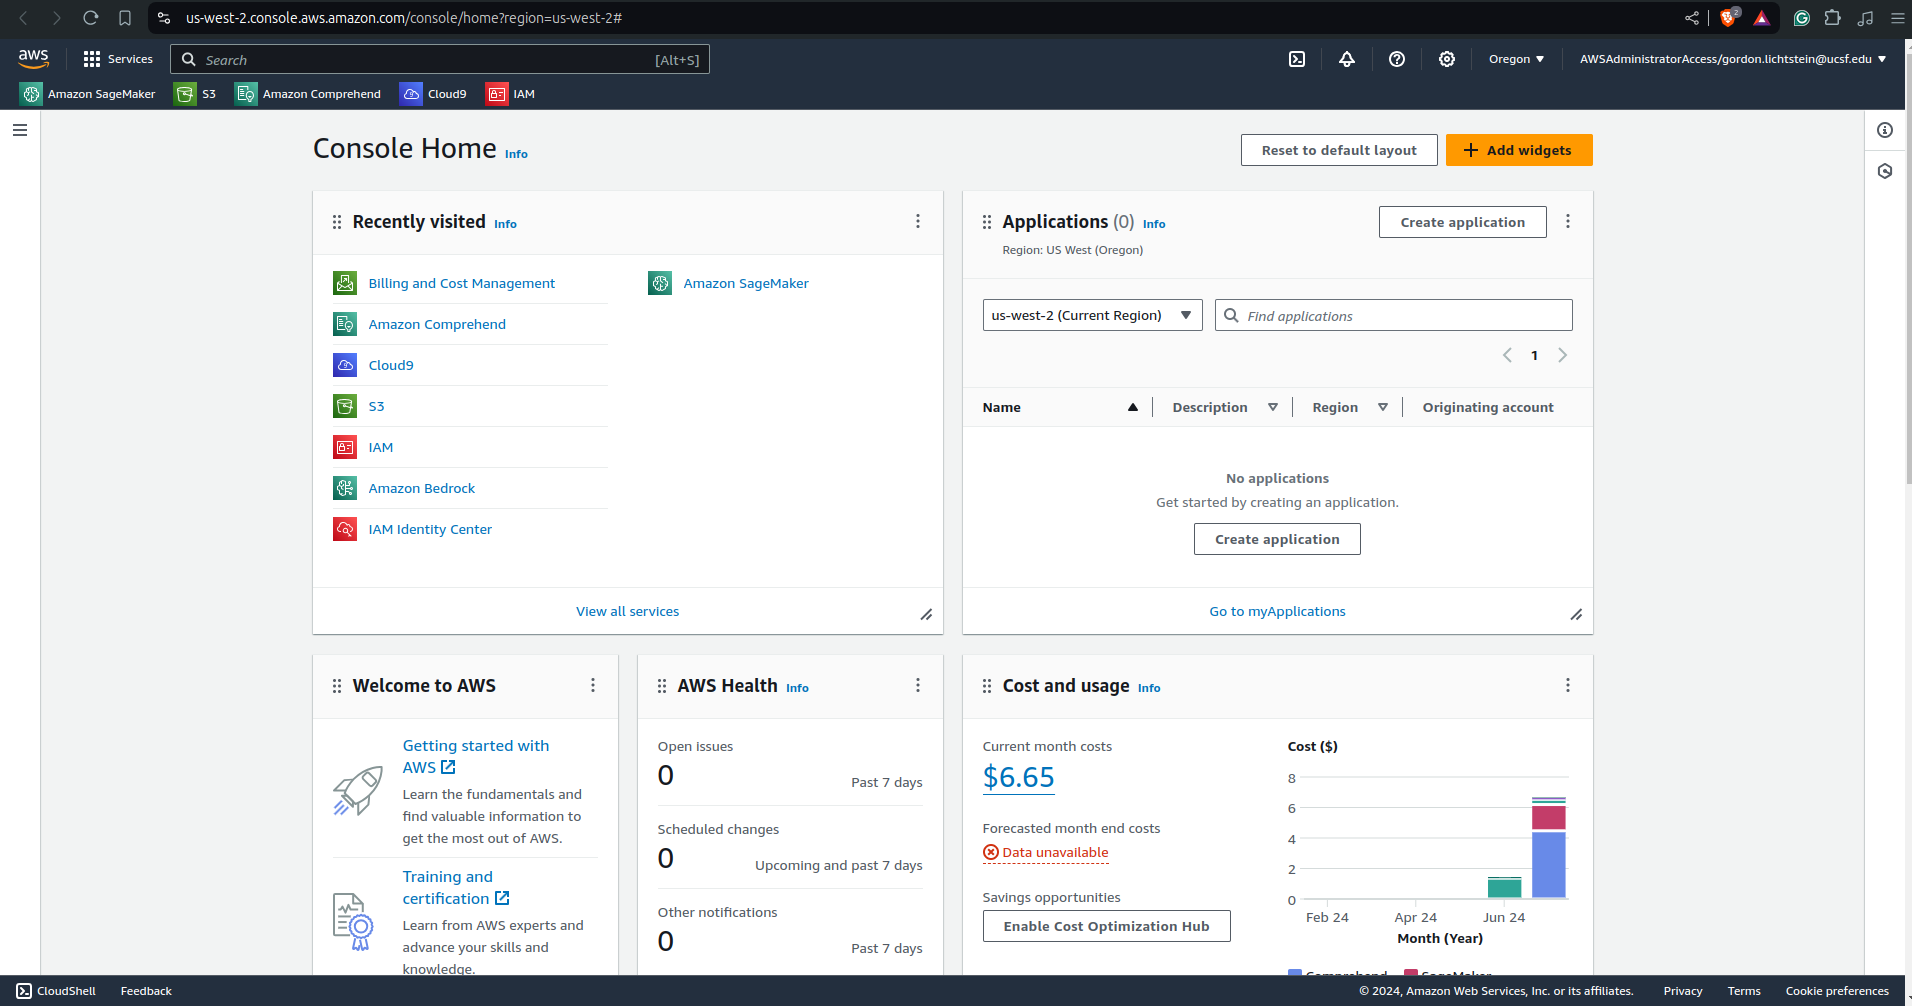
Now click on “Amazon SageMaker” in the top left. This changes our view to what you see below.
Creating a New SageMaker User
You can see a lot of helpful tools under the “Amazon SageMaker” toolbar on the left side of the screen. In this toolbar under “Admin configurations”, click on “domains”.
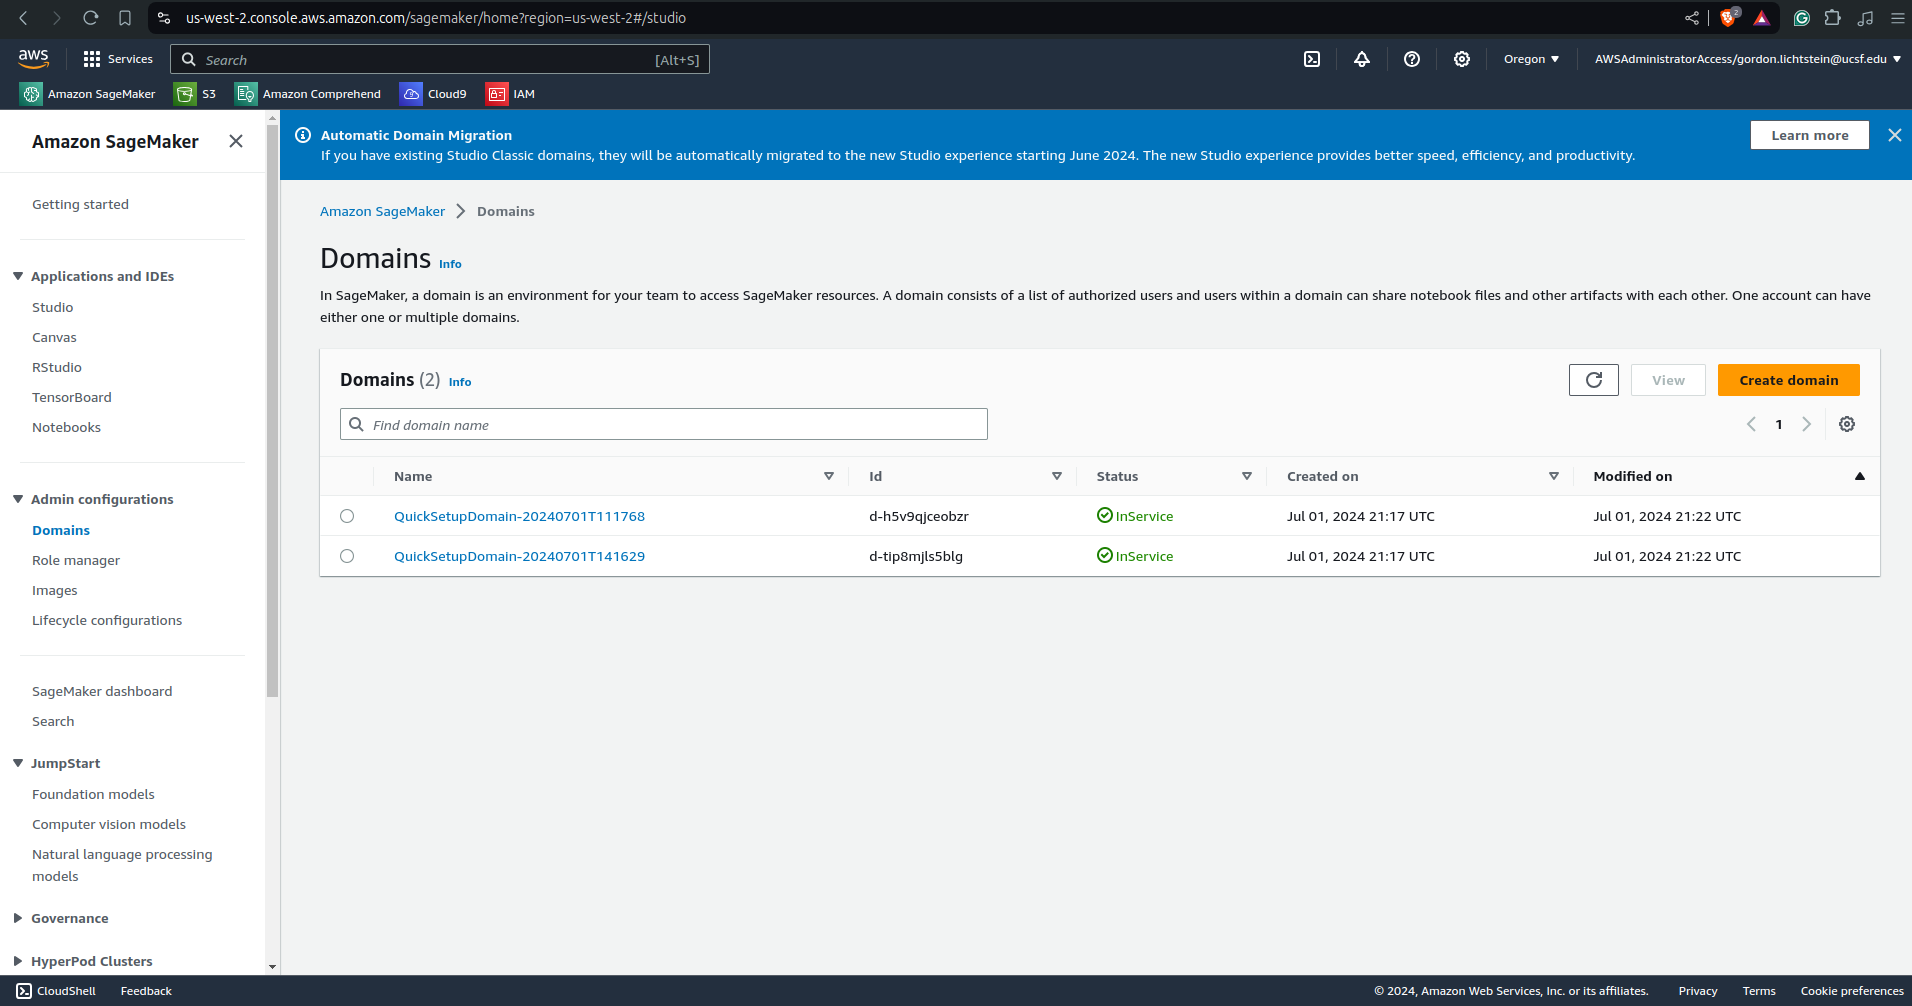
You may see multiple domains already open (in the picture above there are two). Click on one of them. In this guide, I clicked on “QuickSetupDomain-20240701T111768”, but it doesn’t matter because we’ll change the execution role in the next steps.
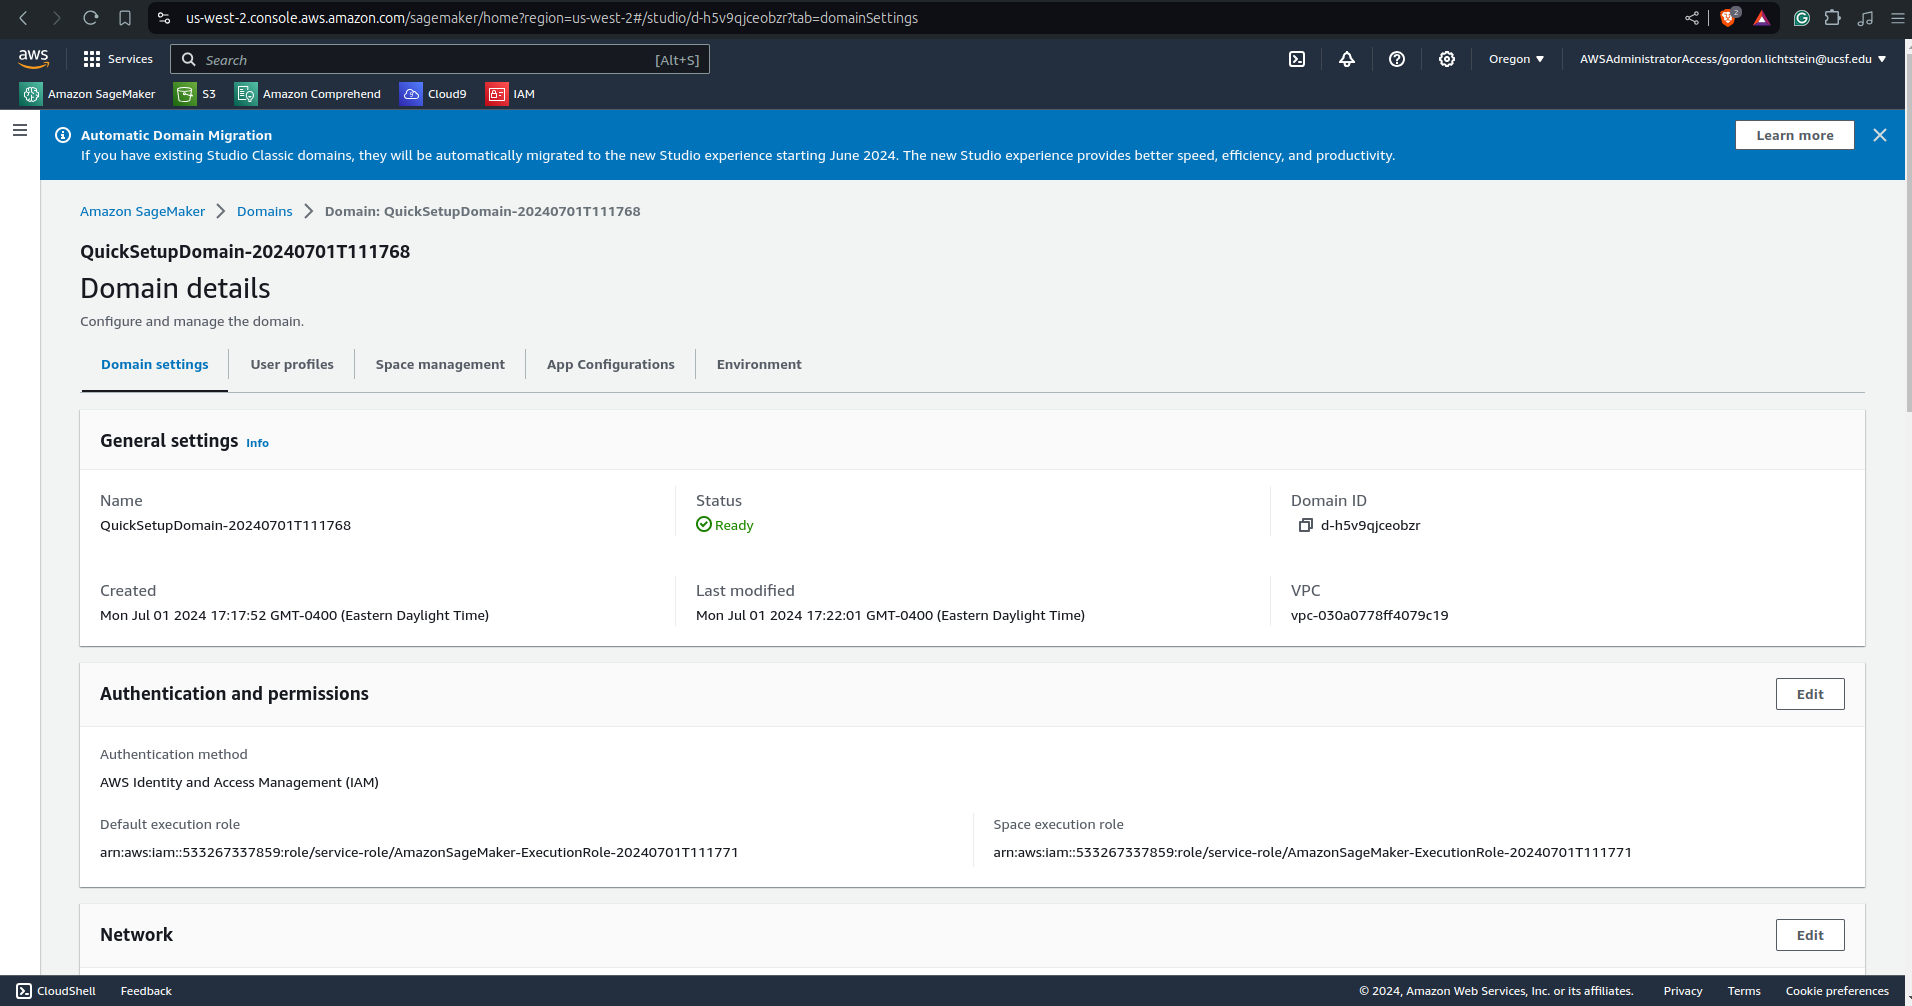
Now we see the details of this domain. We want to click on “User profiles” to enter this domain as a user.
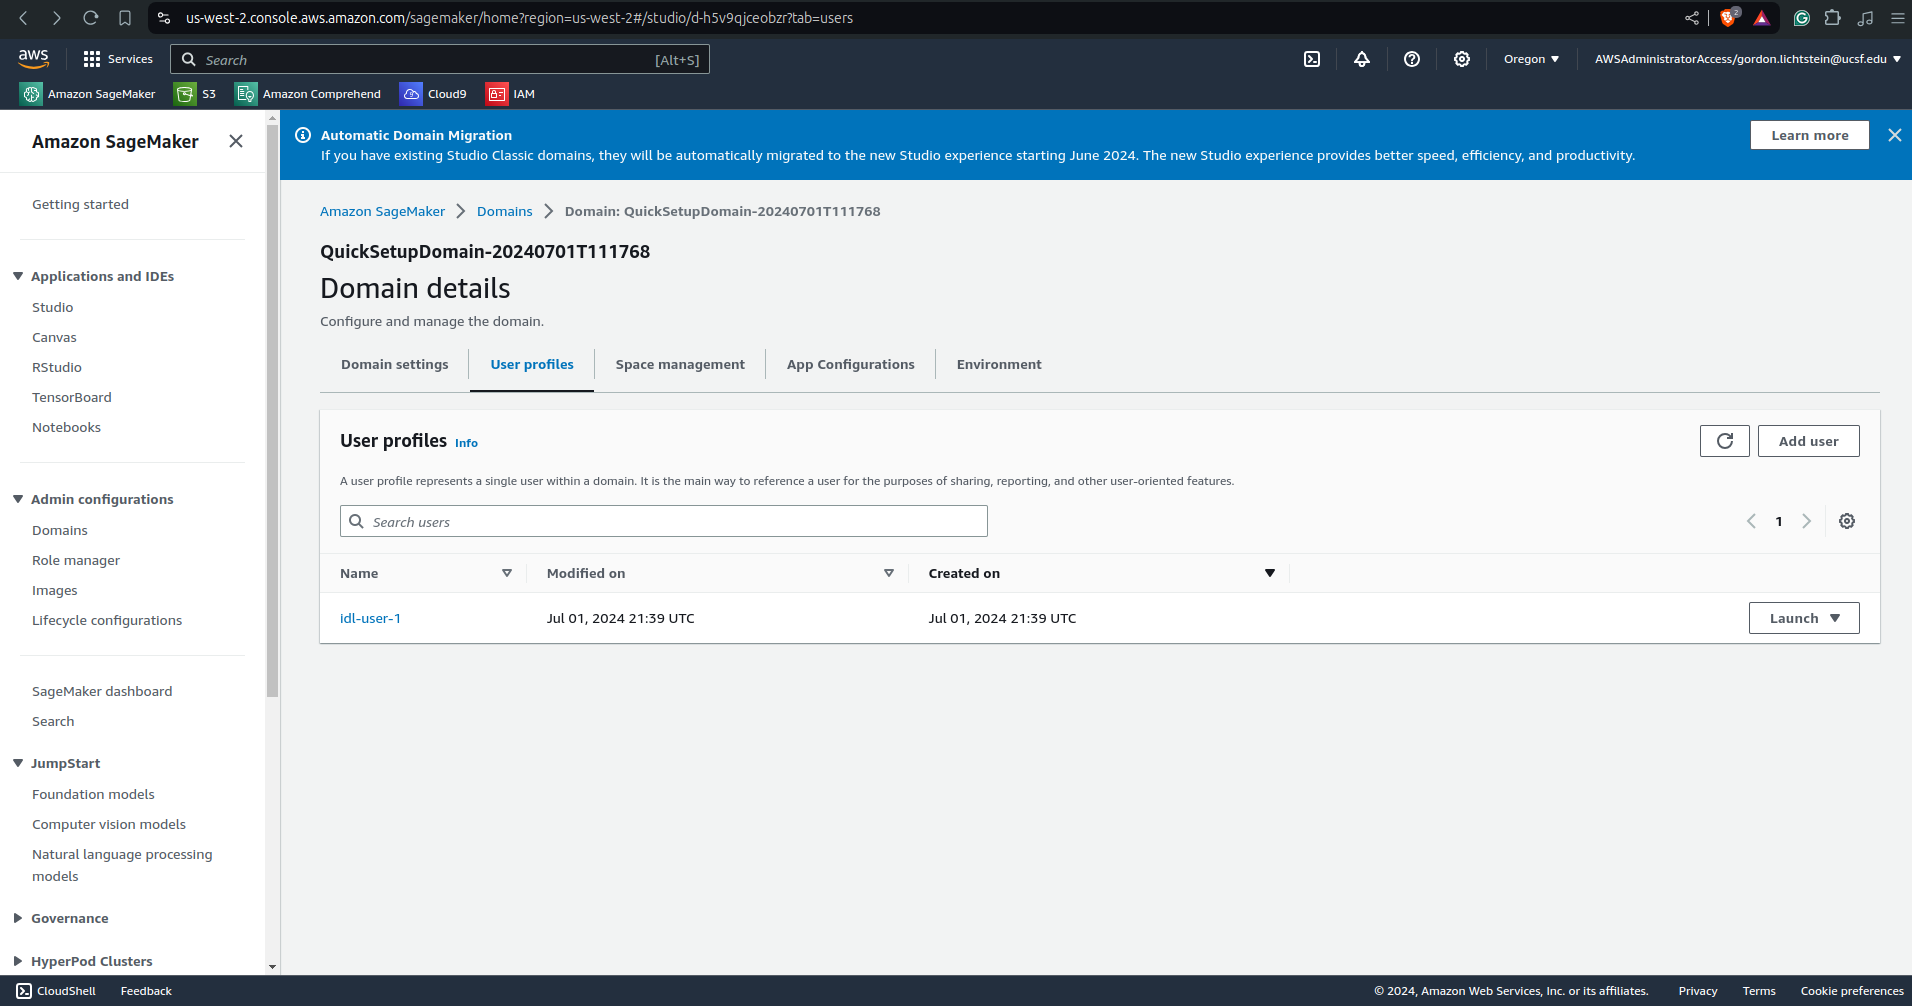
There will likely be multiple users already. We want to create a new user just for our use, so click on “Add user” on the right.
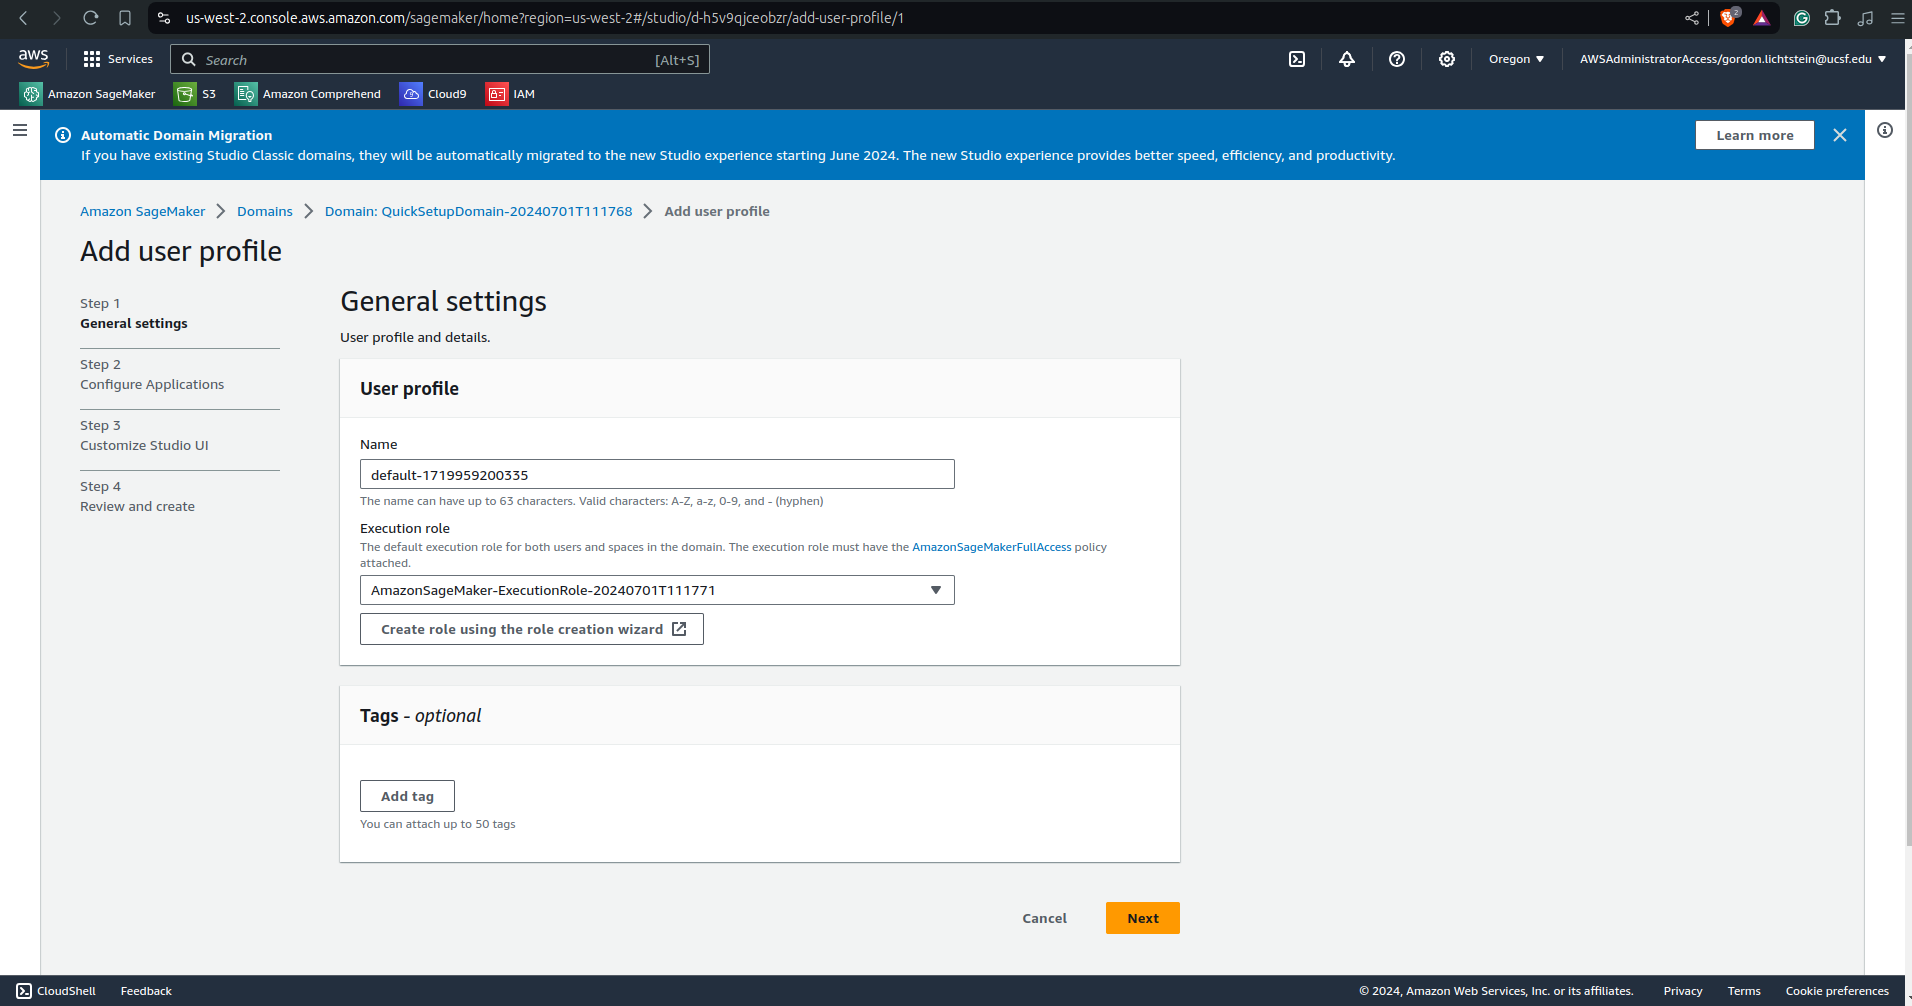
Now let’s change the name to something a bit more descriptive. Your first and last name hyphenated would be a good choice. In this guide I’ll use “gordon-lichtstein”. We should also change the execution role to the domain we want to access. In this case I just selected the default first domain, which is fine. If you want to access a different domain, click on the drop down menu and select another one. Whichever domain you choose, be sure to note or remember it, as we’ll need it in a future step.
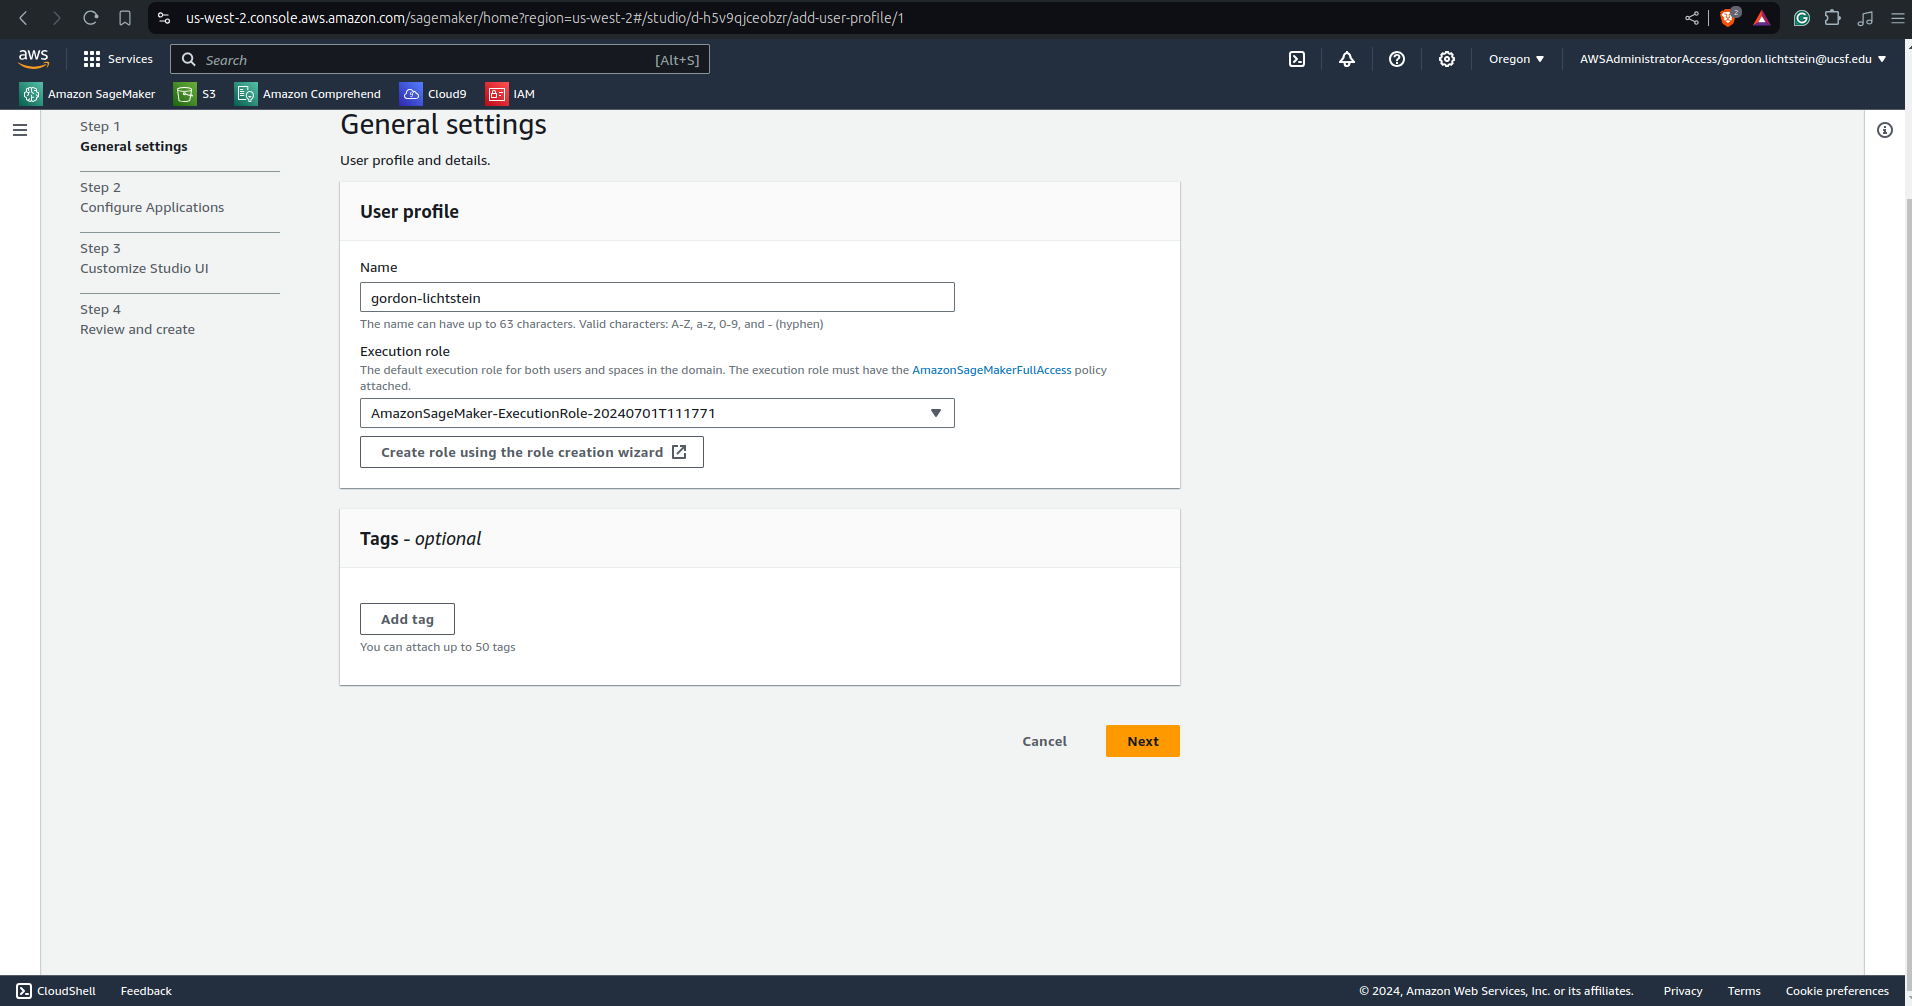
Now click on the orange “Next” button in the bottom right.
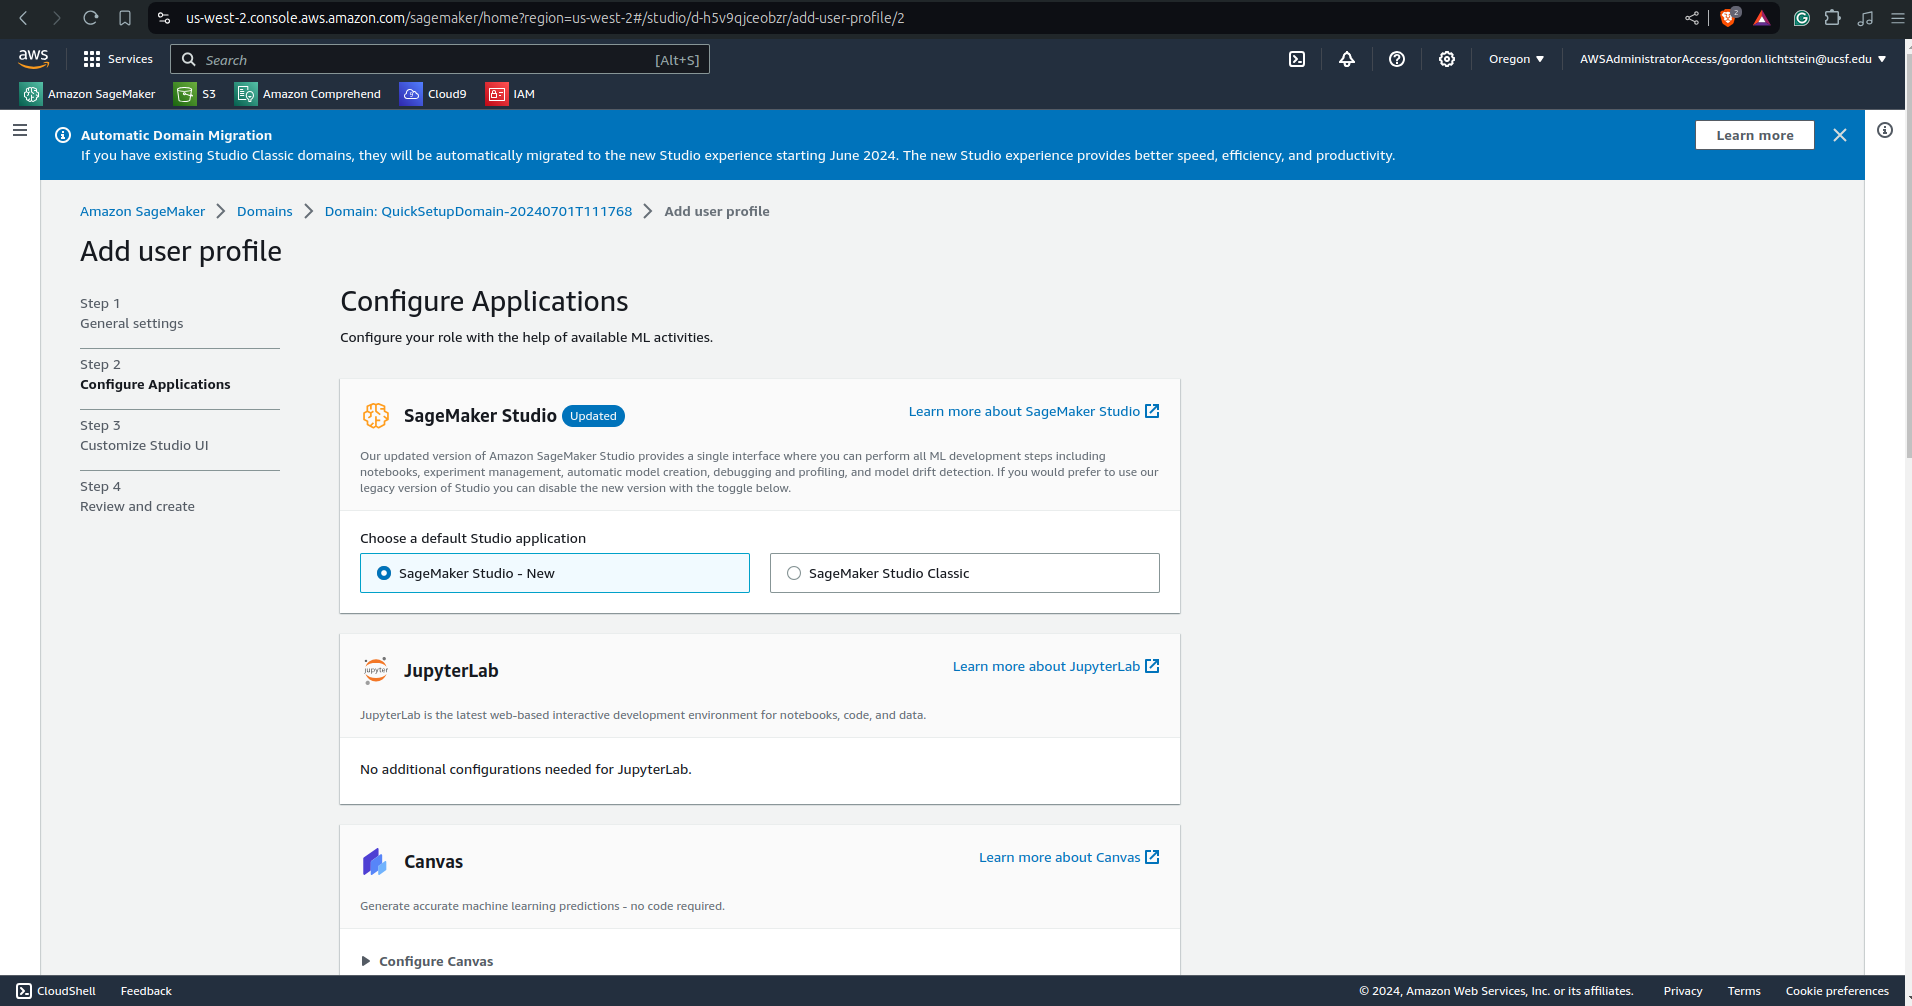
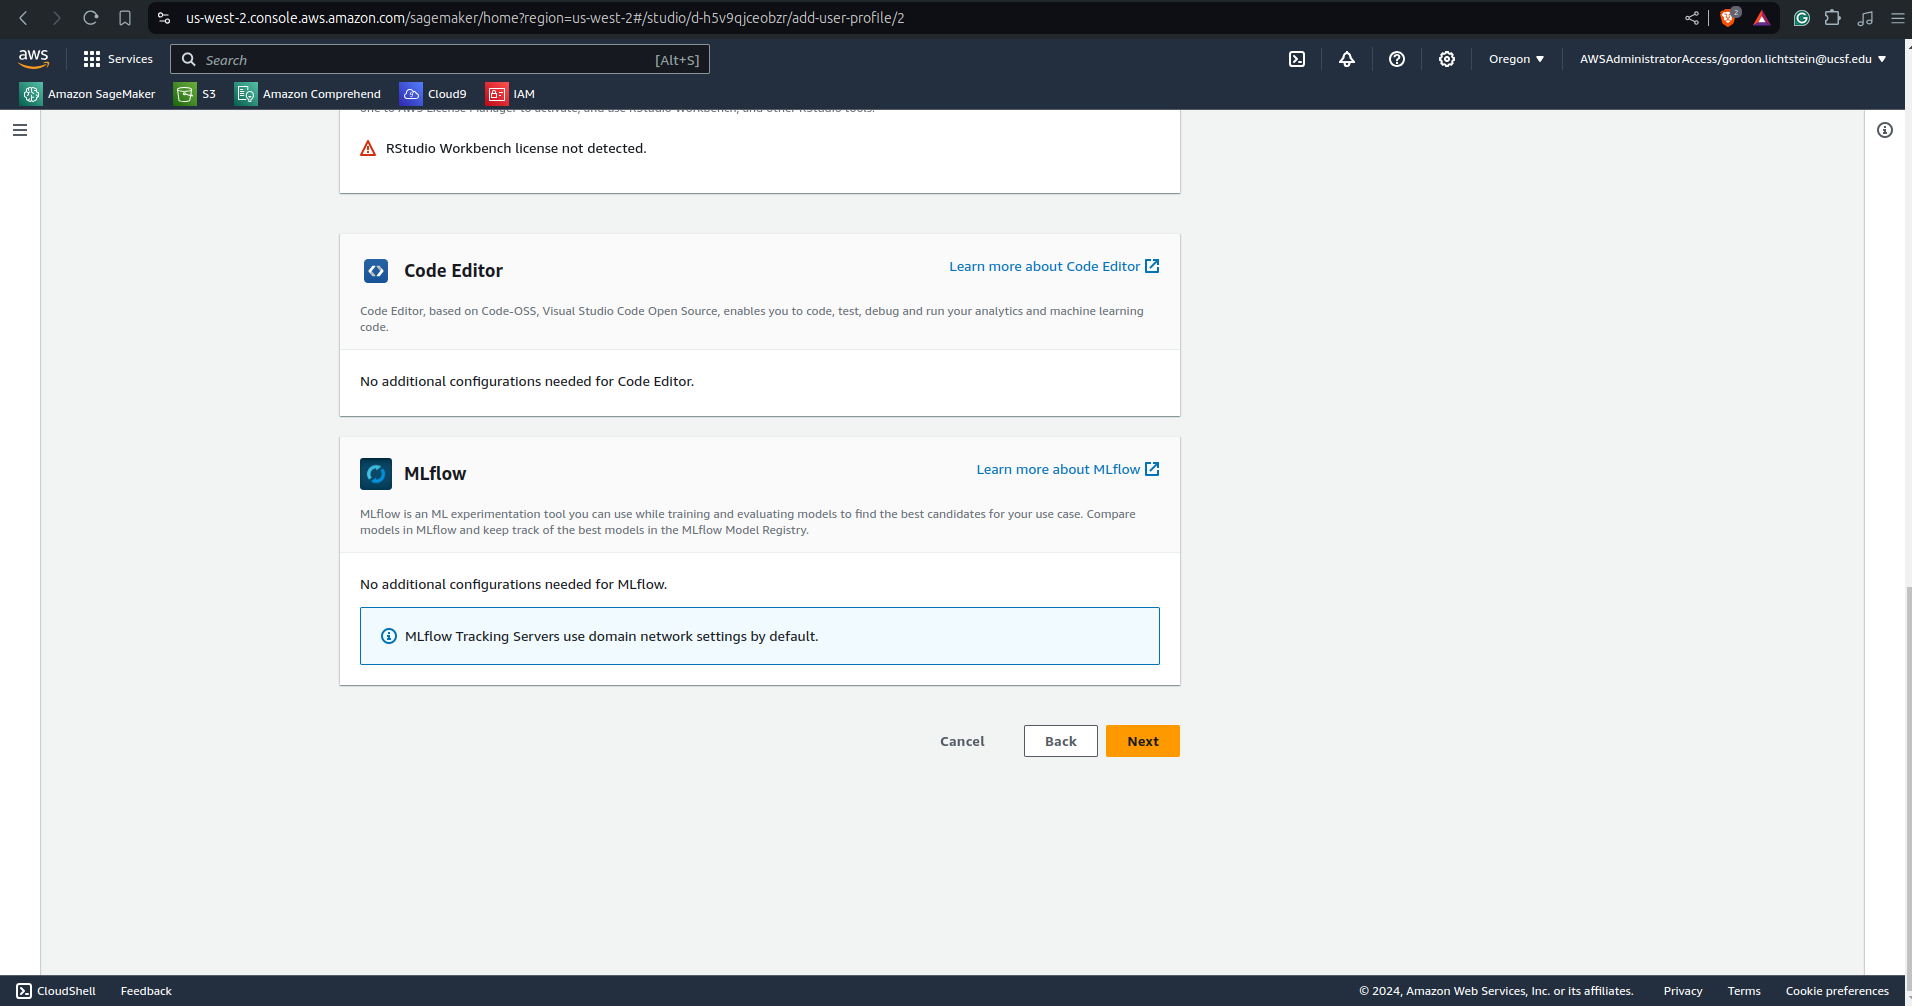
Now you will see a screen like this that asks you to configure your default applications. Scroll to the bottom and click “next” to keep everything as the defaults.
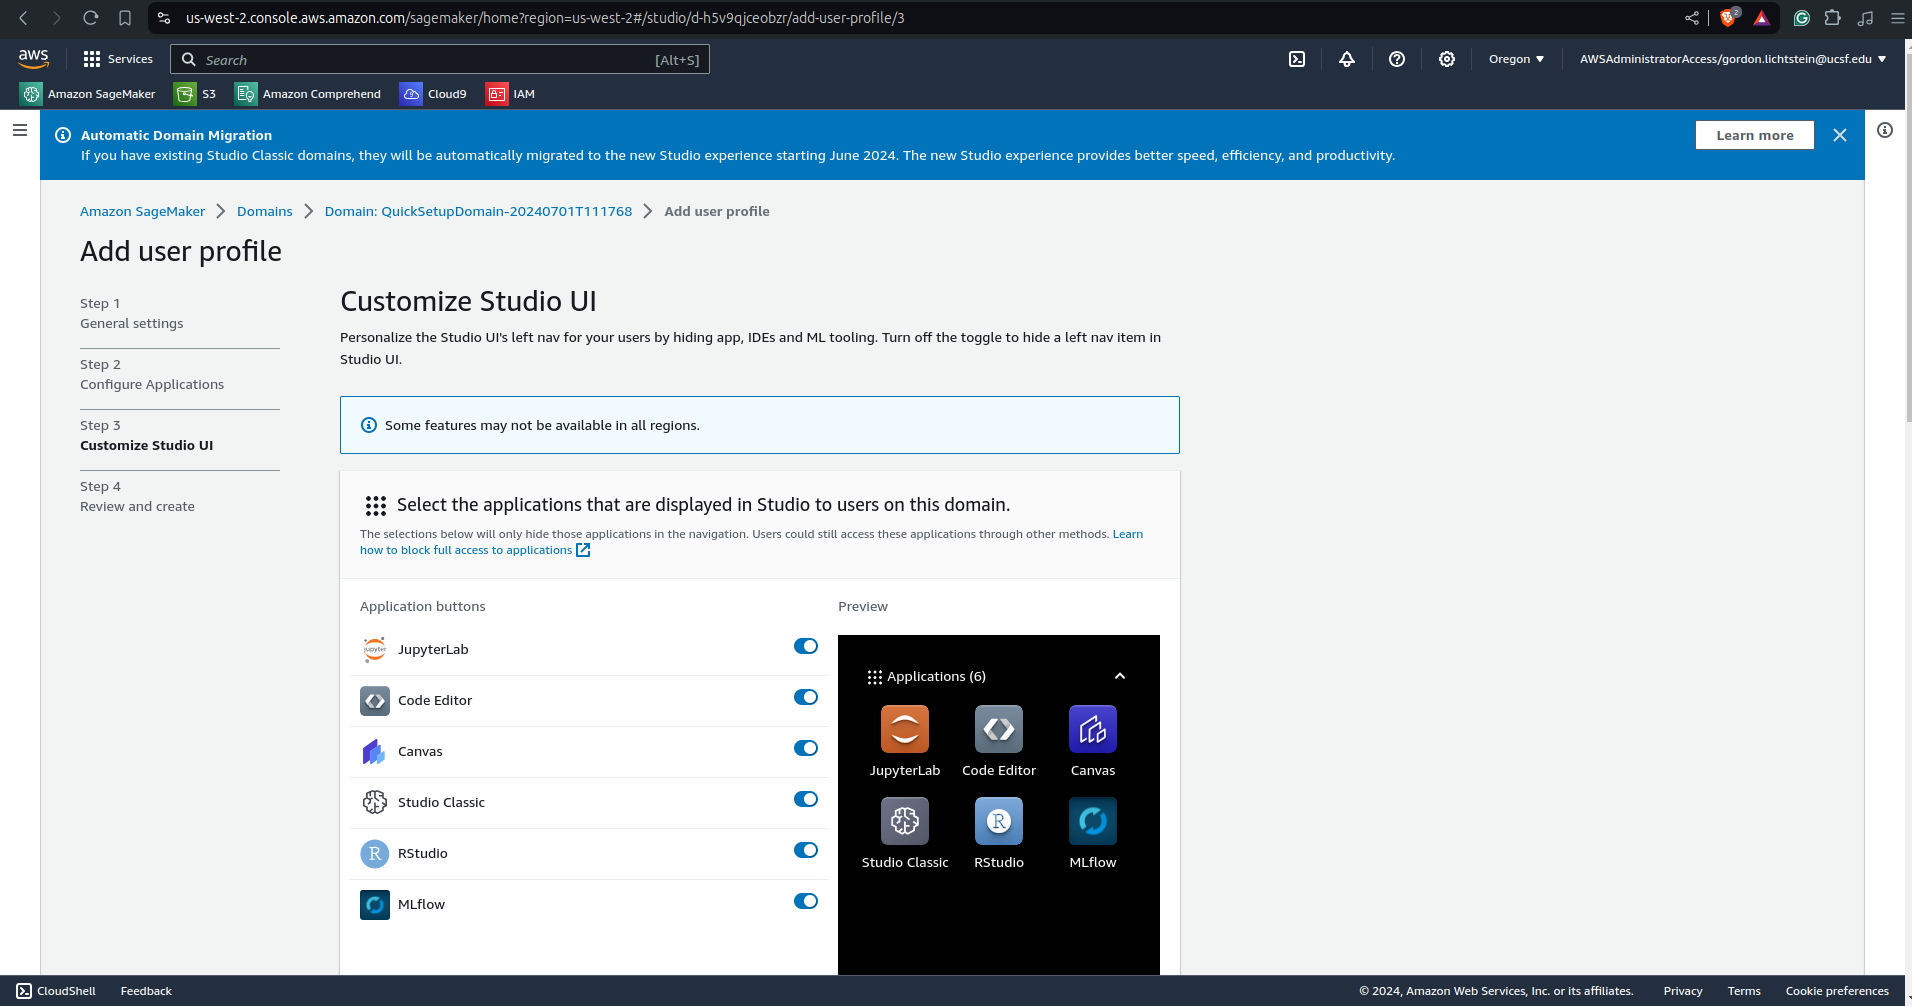
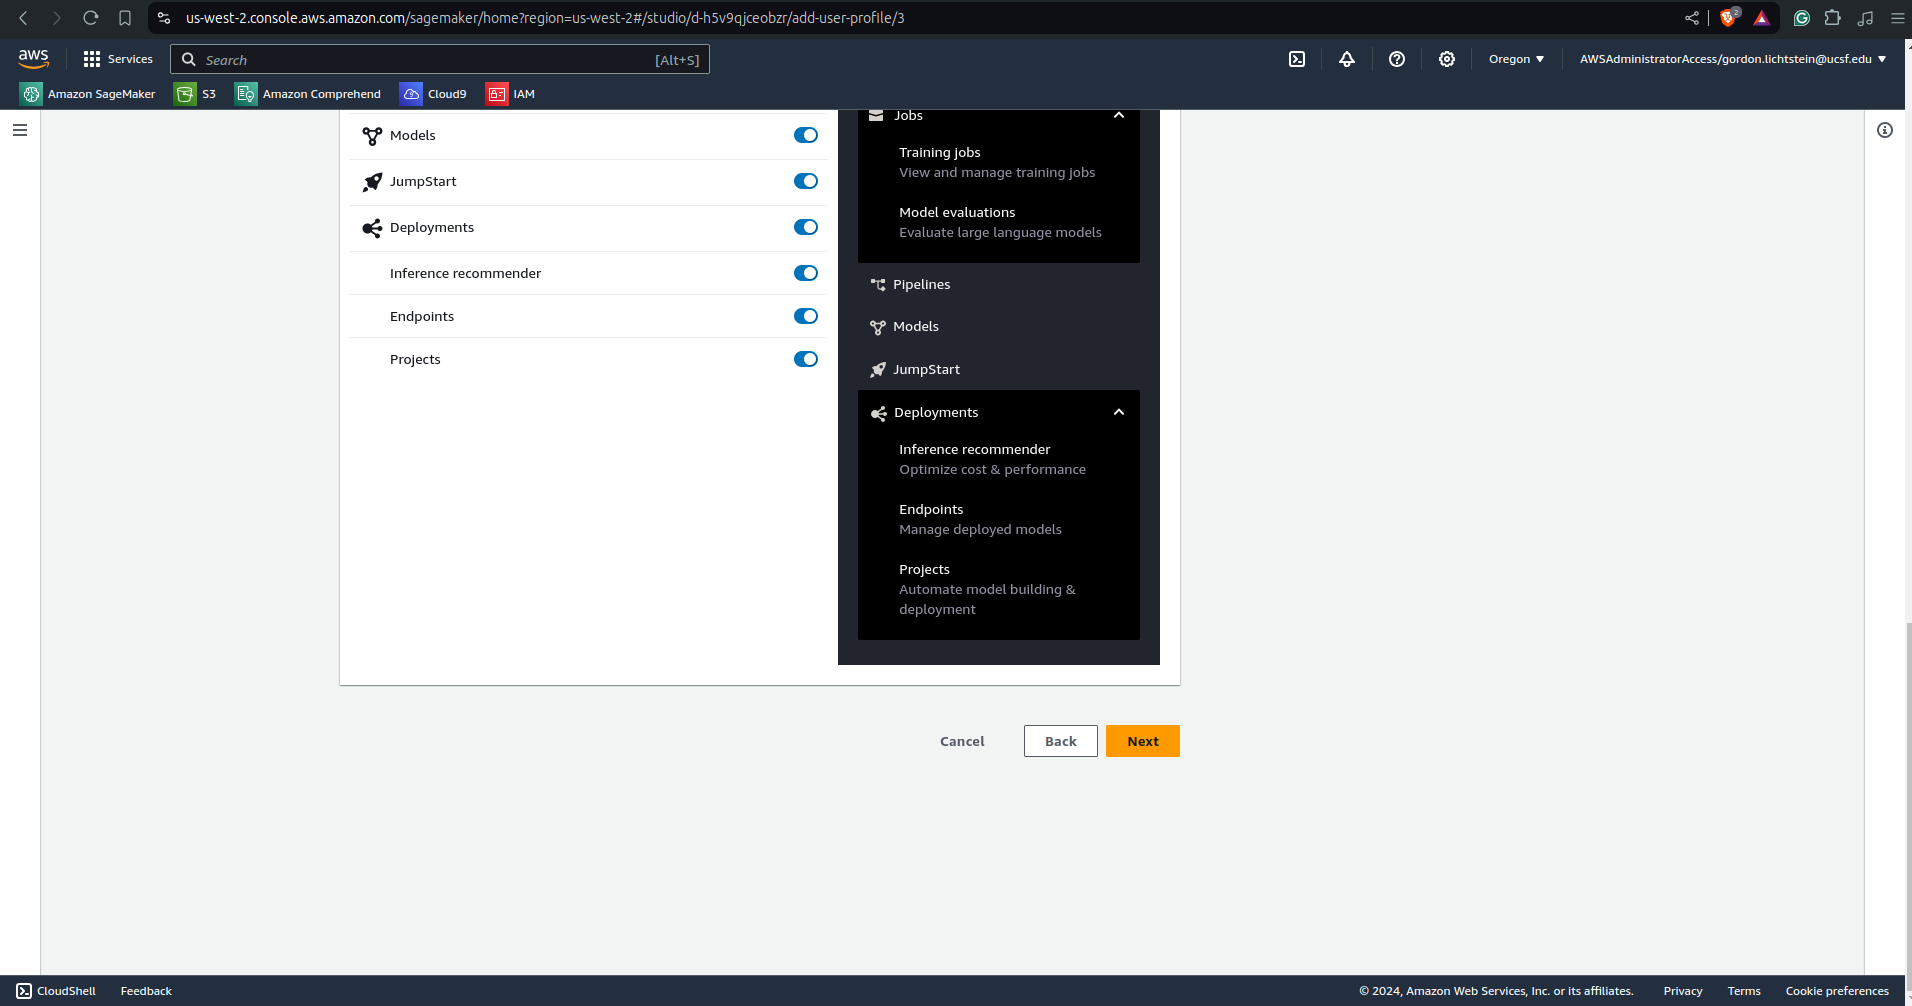
Do the same for this next page, clicking “next” at the bottom to leave everything as default.
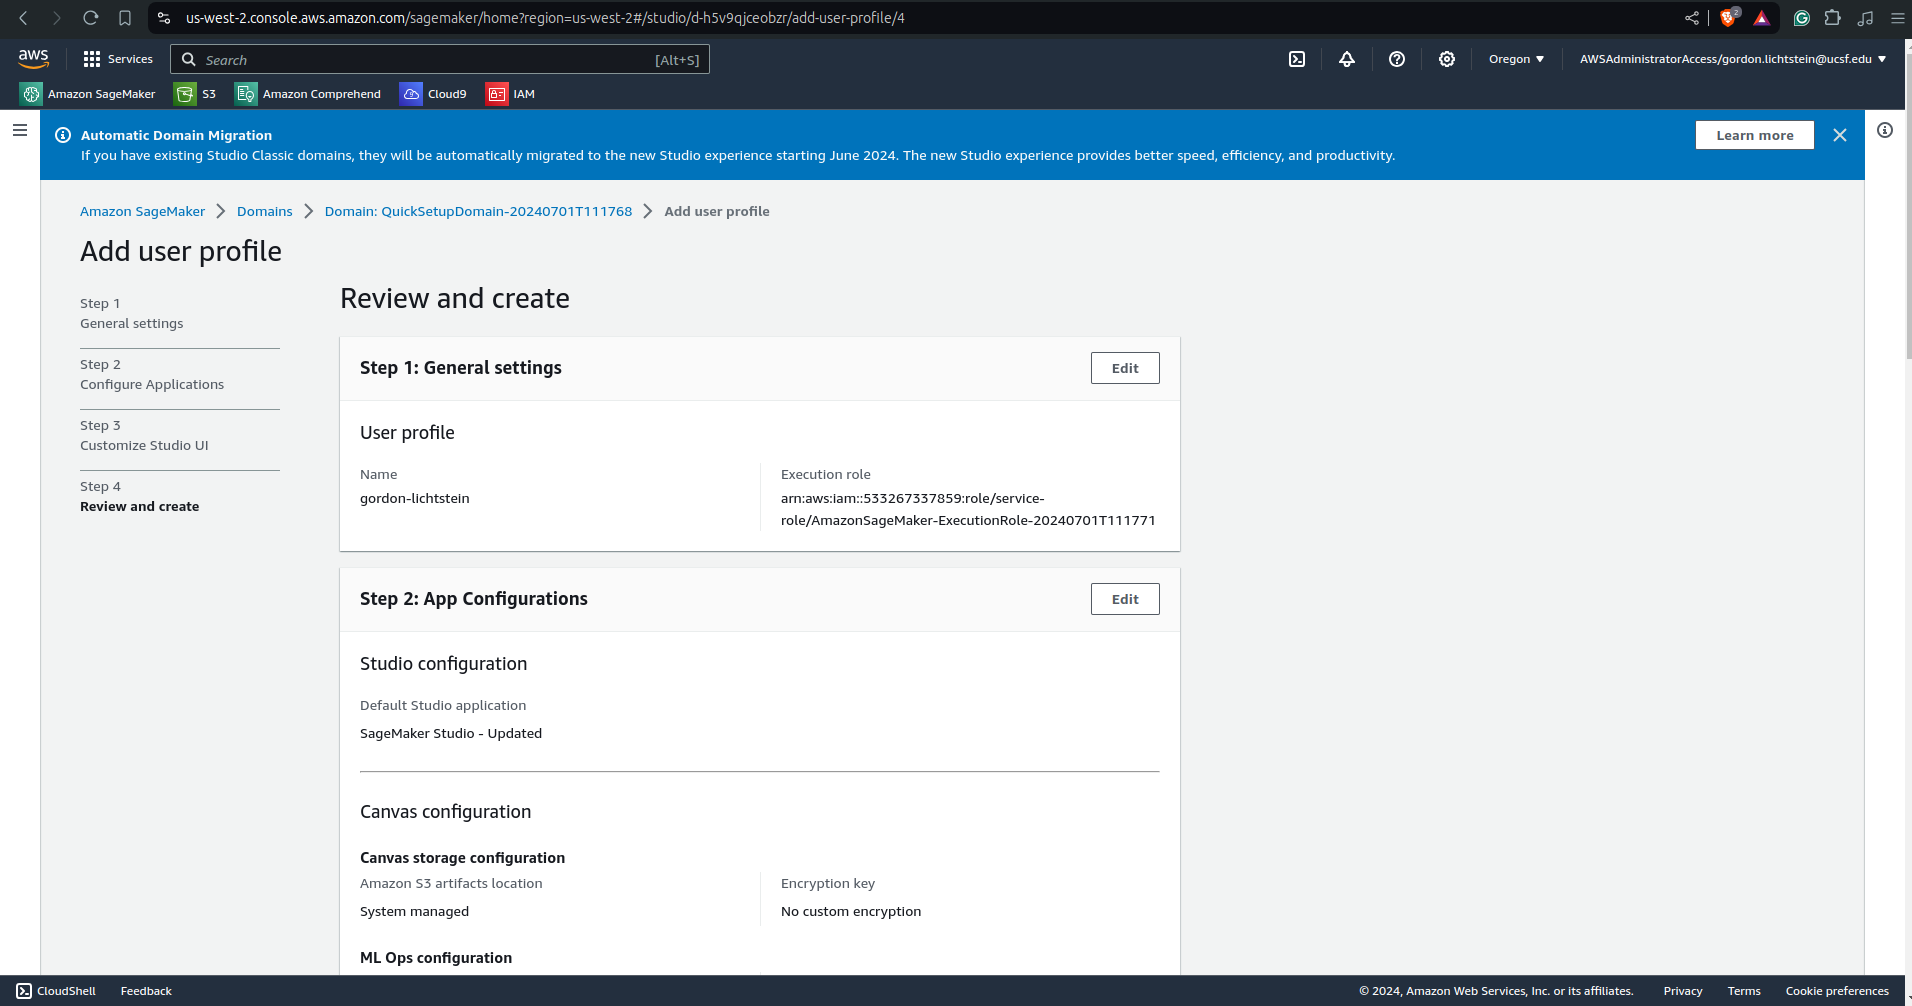
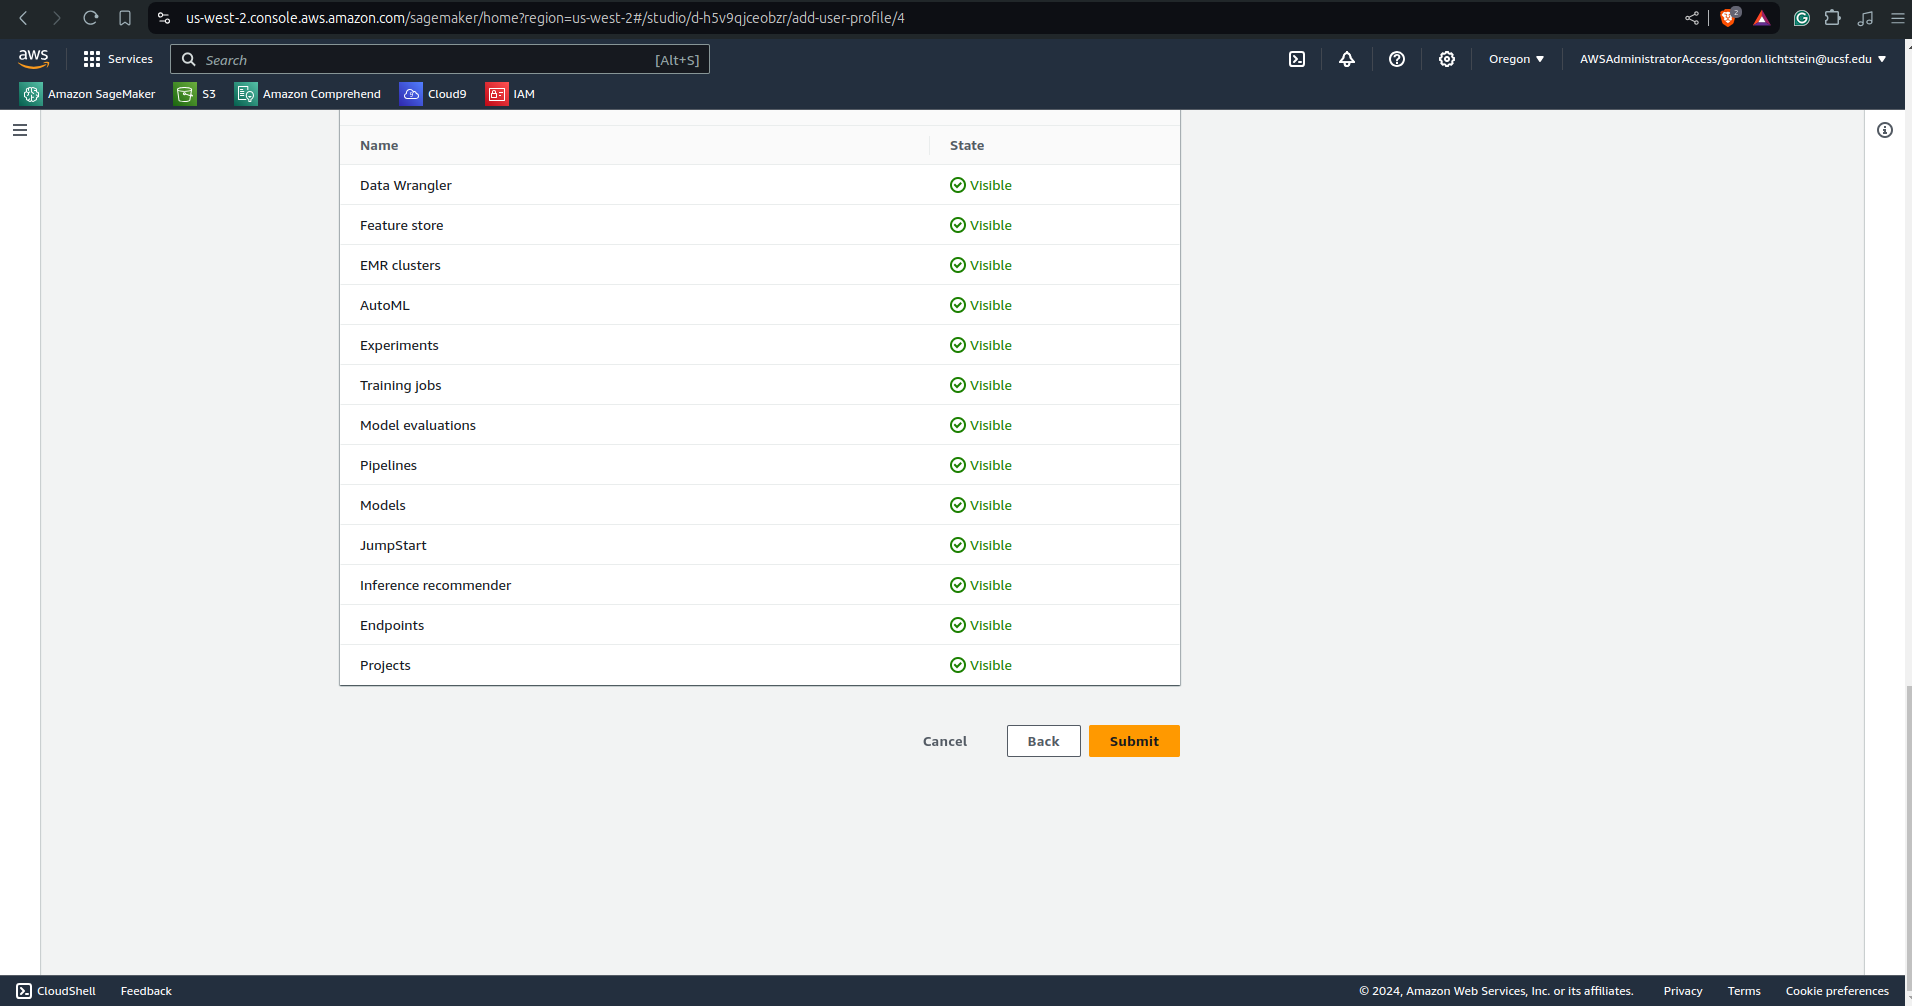
Review the user information, and if everything seems correct then click “Submit” at the bottom.
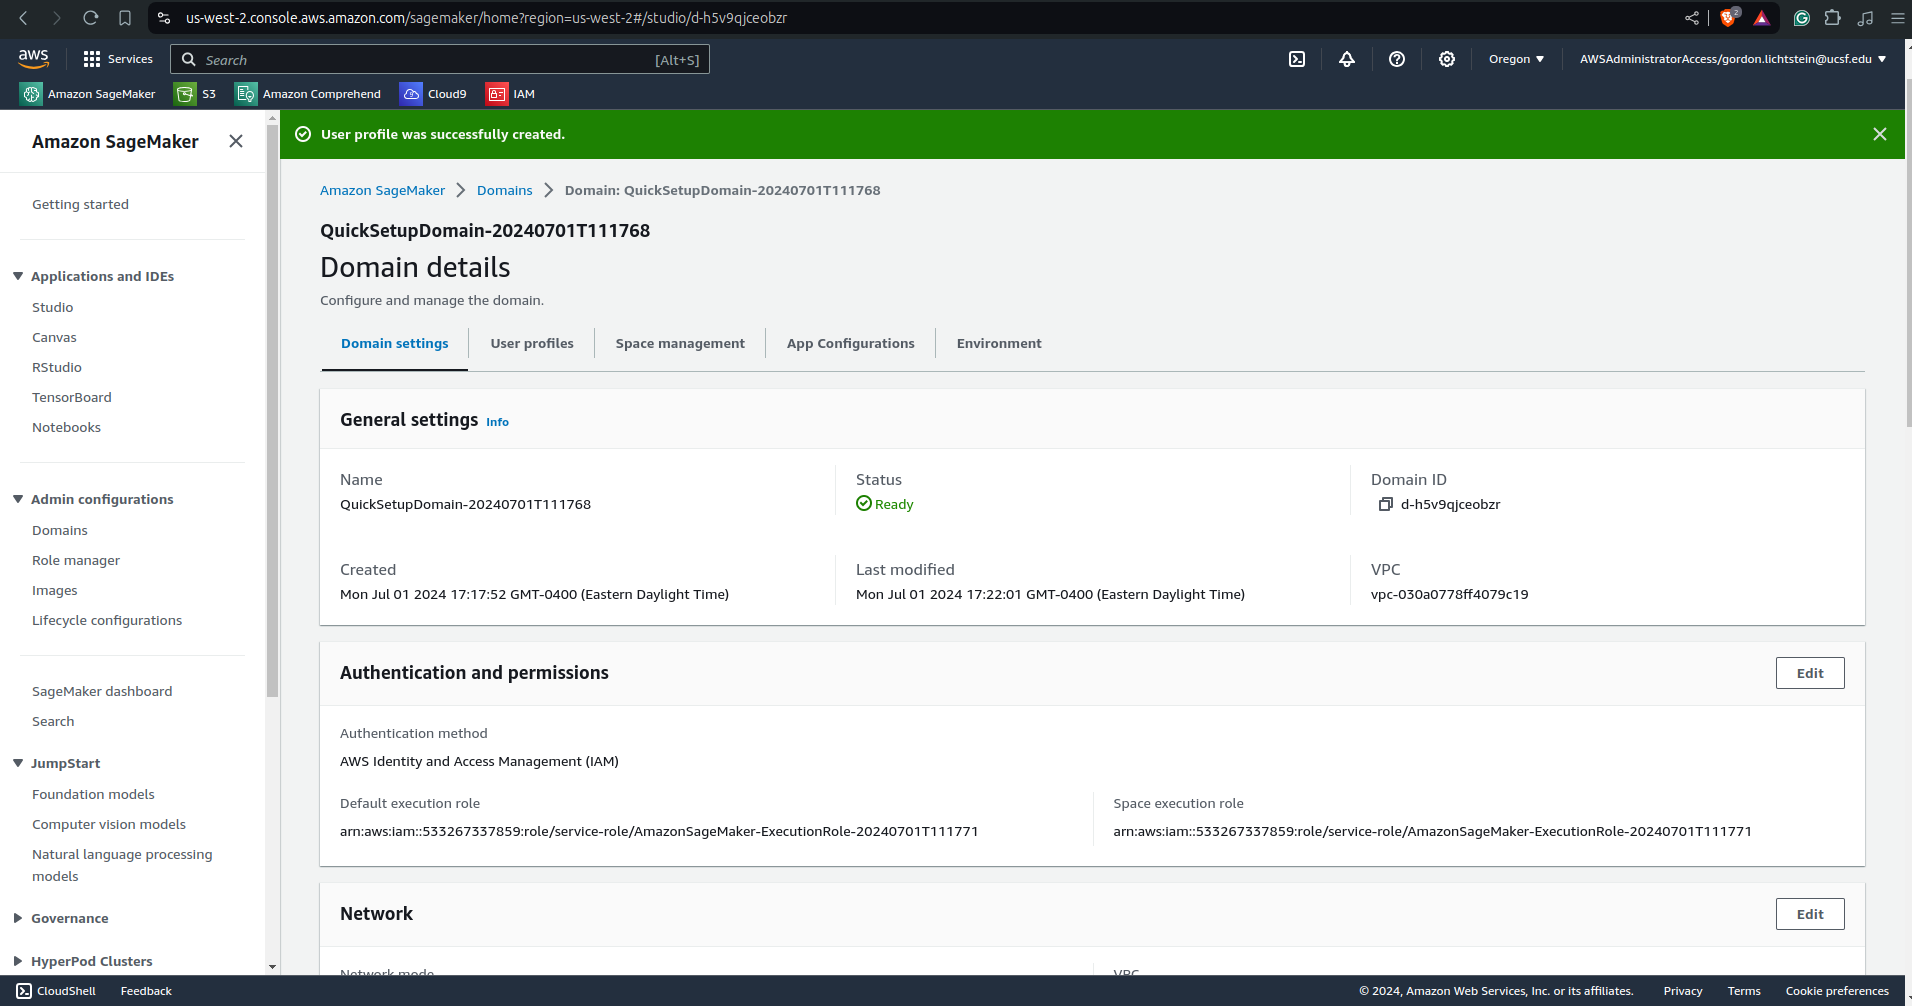
You’ll see this page, which means you successfully created a new user!
Opening SageMaker
Now click back to “domains” under “Admin configurations” on the tool bar on the left.
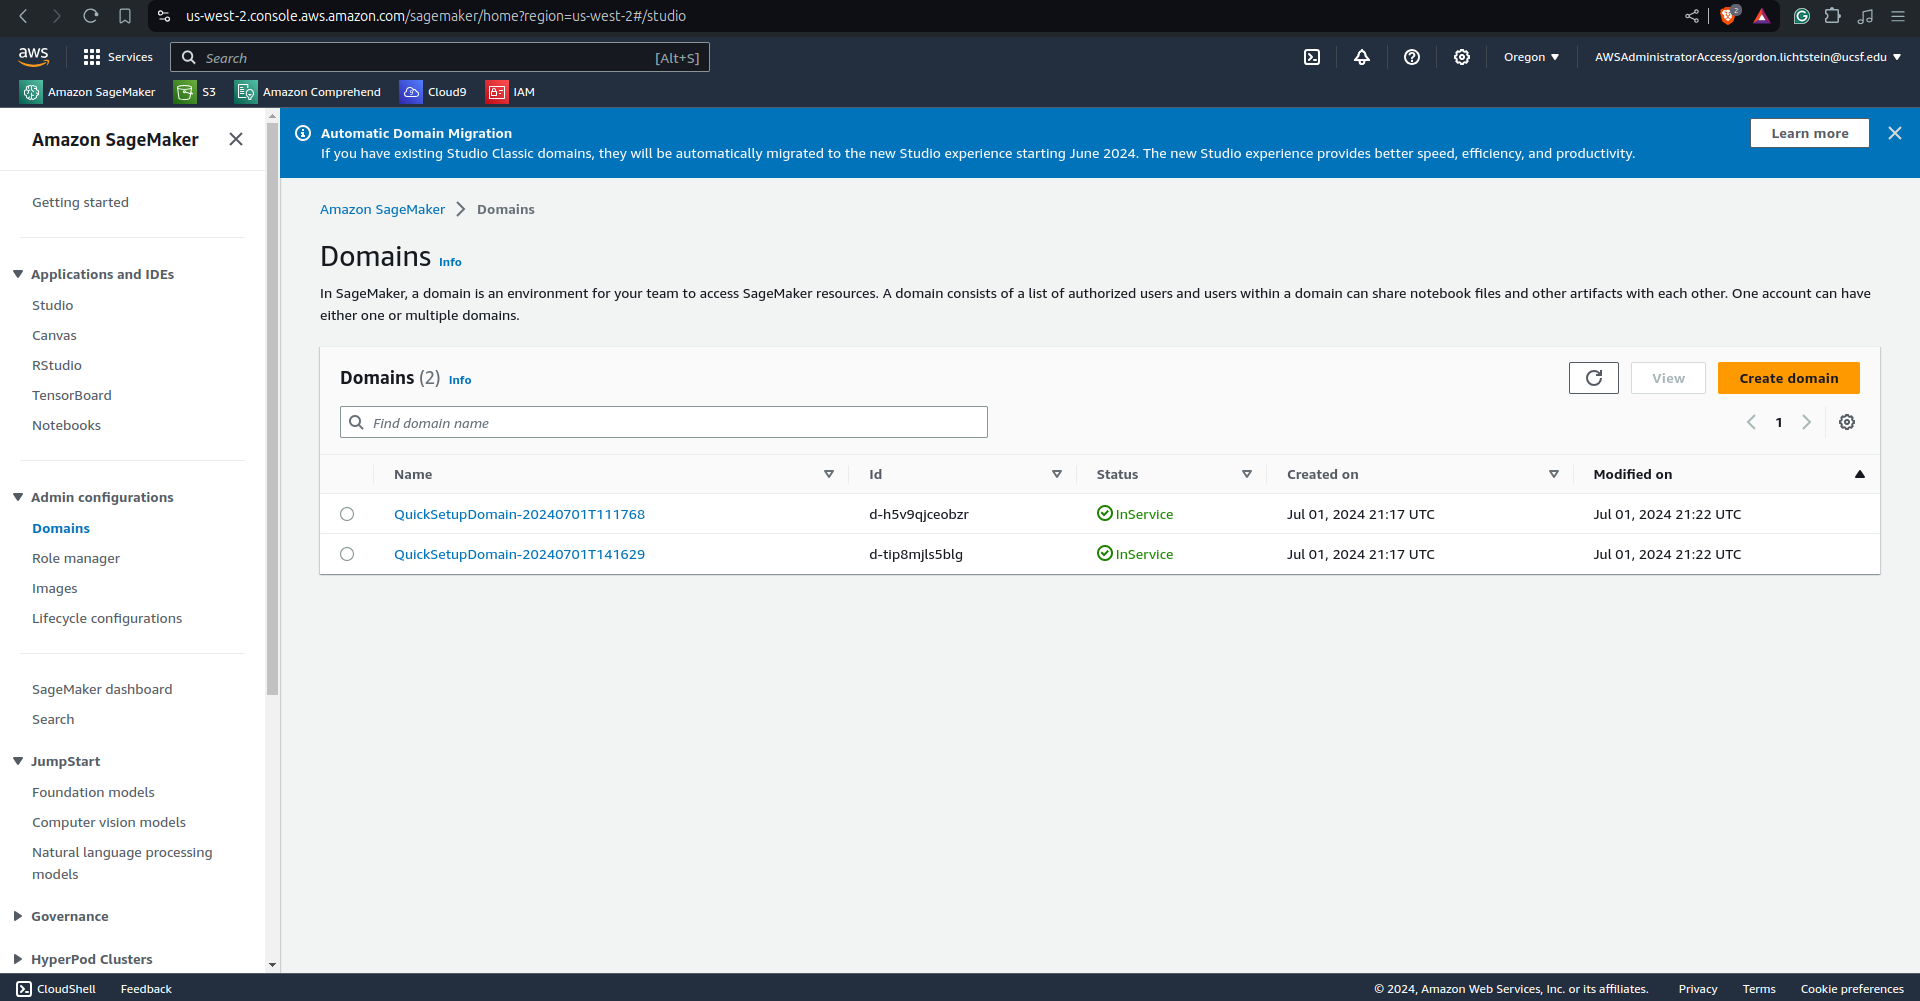
Now we see the screen with the domains again. This is where the execution role domain you assigned earlier comes into play, as you will have to click on the same domain now that you selected then. If you don’t remember the domain, just try clicking on one, then on “user profiles” to see if your user is there. If not, click the back button on your browser to do back to the “domains” page, and select the other domain.
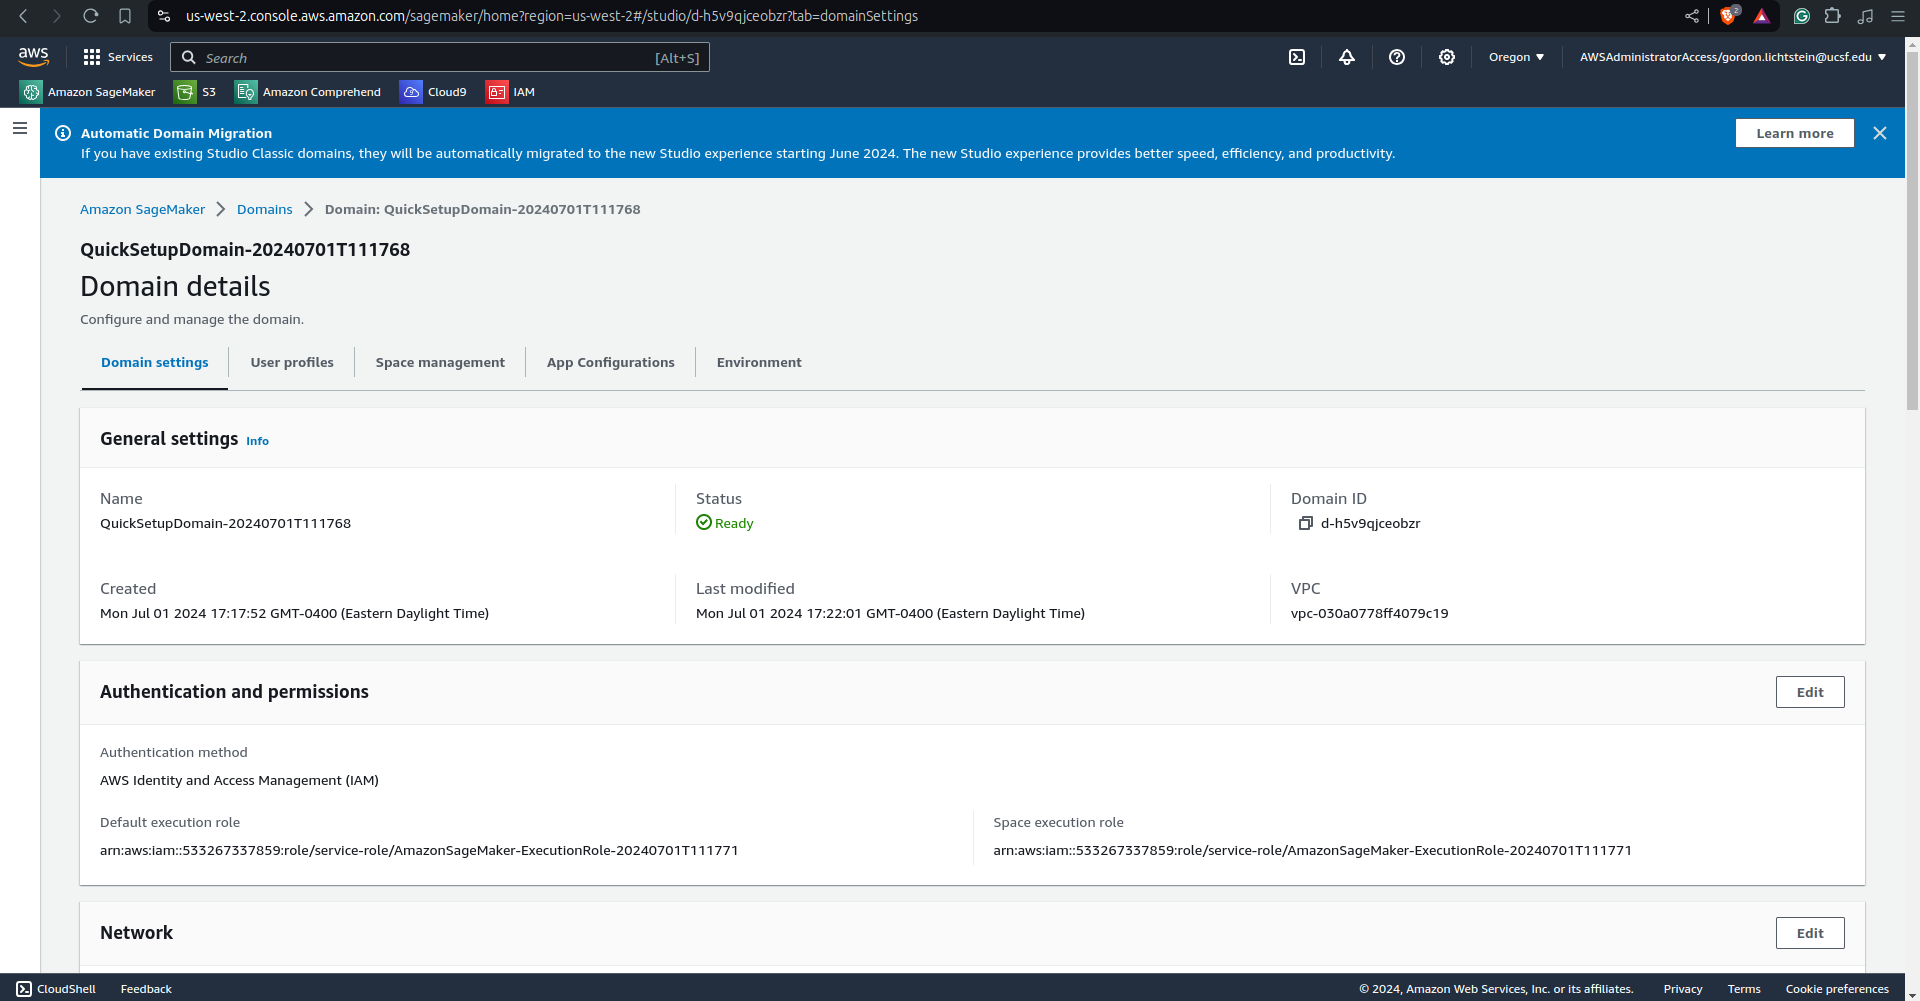
Now click on “User profiles”. If we did everything right up until now, we will see the user we just created.
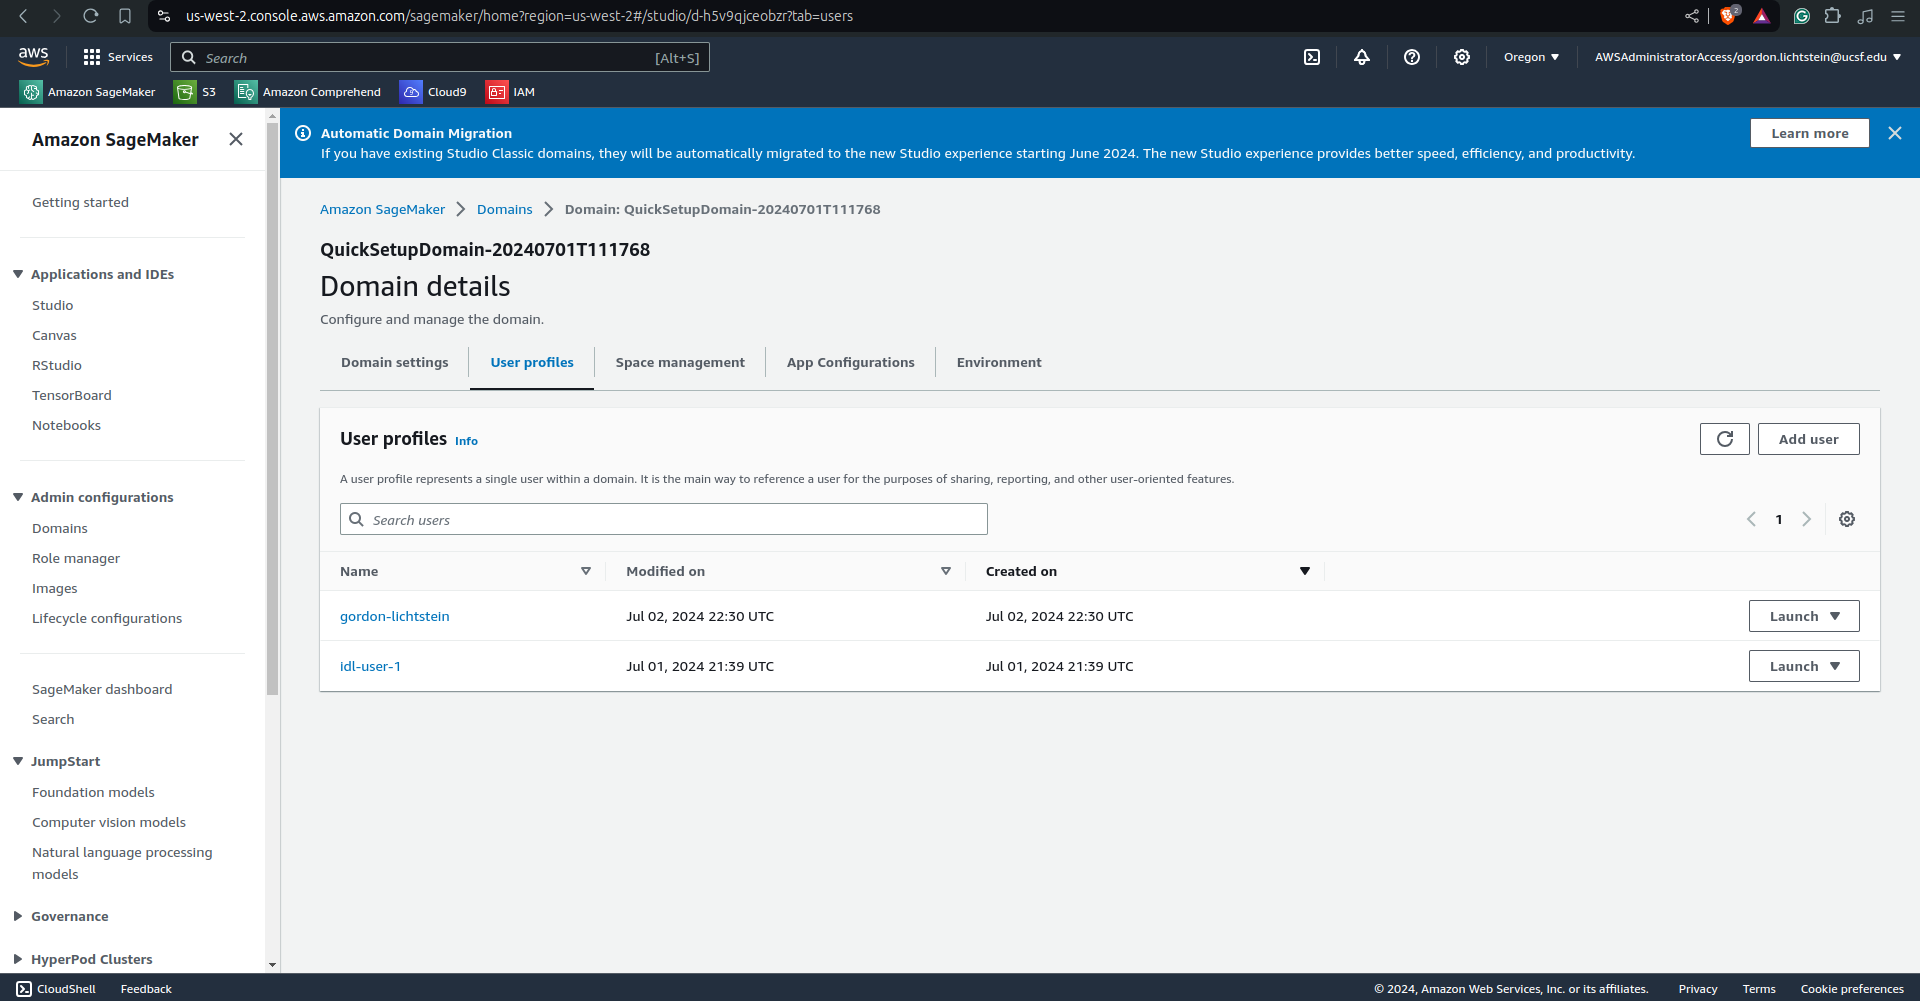
Now we can see our user, and in the same row on the far right we can see a “Launch” button and dropdown menu. Click on the triangle to open the dropdown menu.
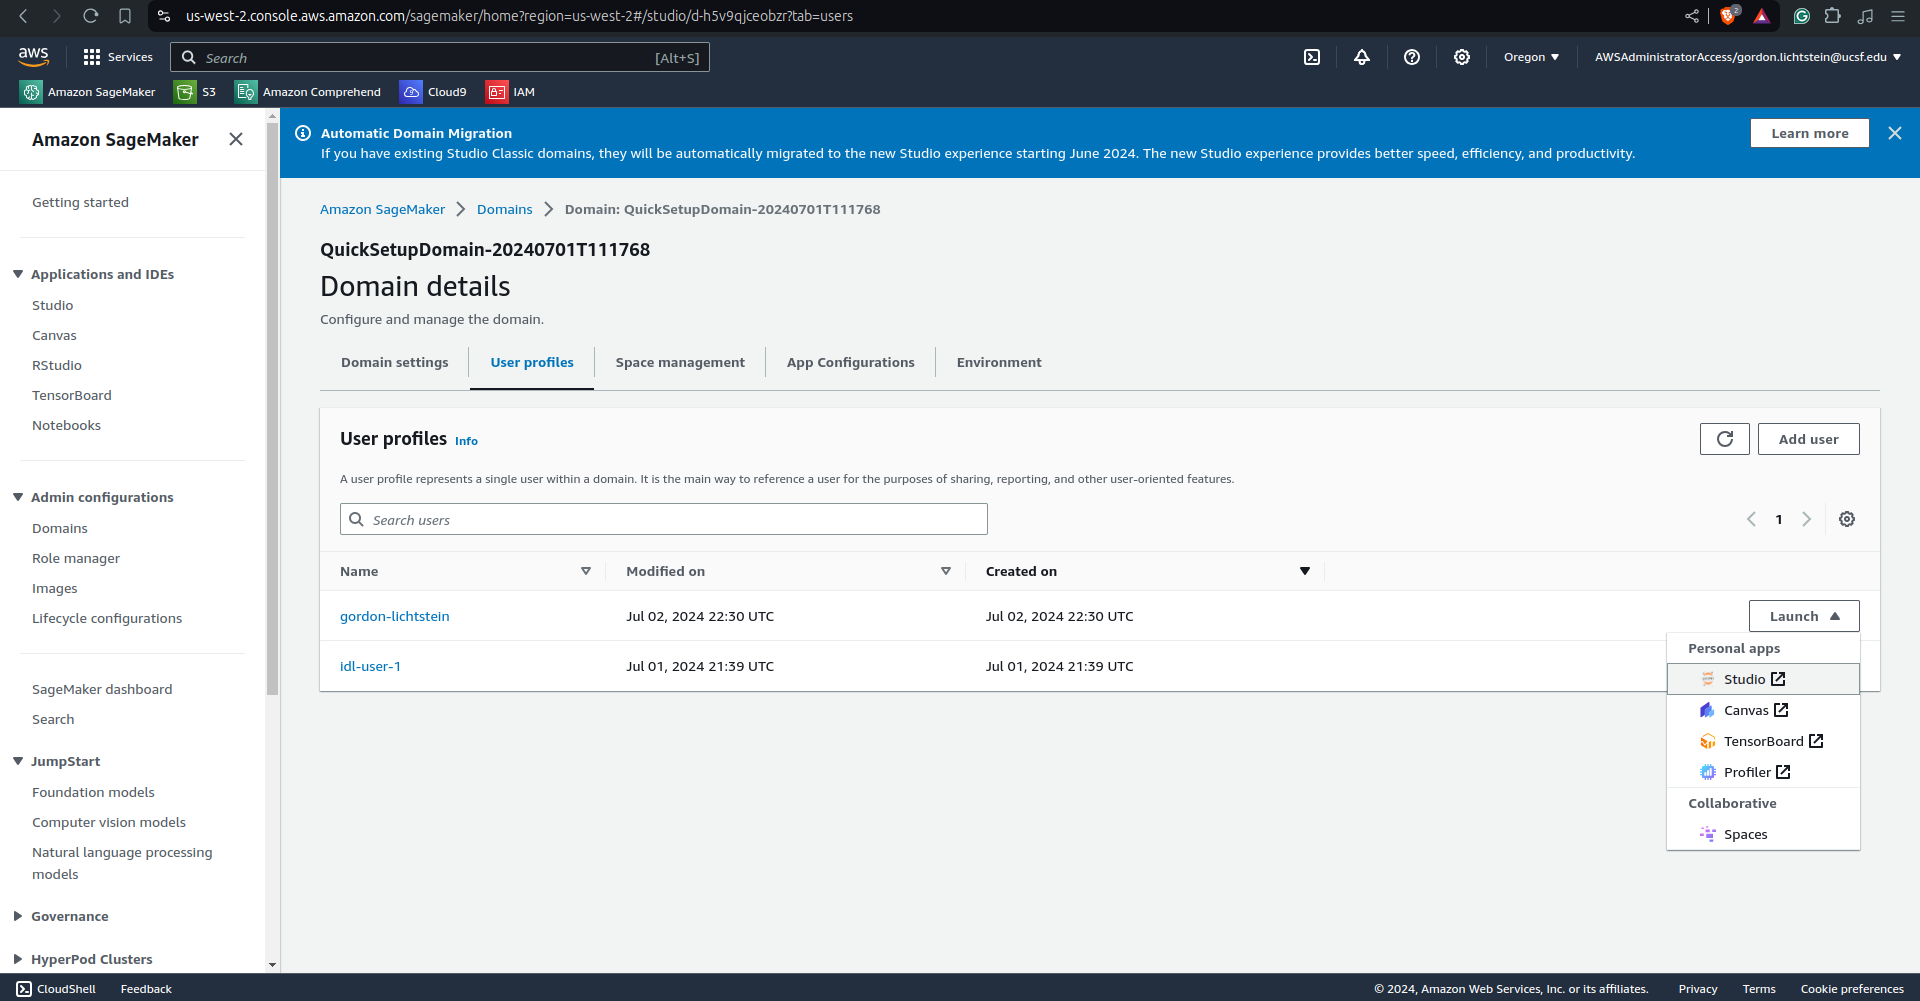
Now we will see the apps we can access. We want to open SageMaker, so click on the box with the arrow to the right of “Studio” in the drop down menu. This will open a new tab, which might take a few seconds to load.
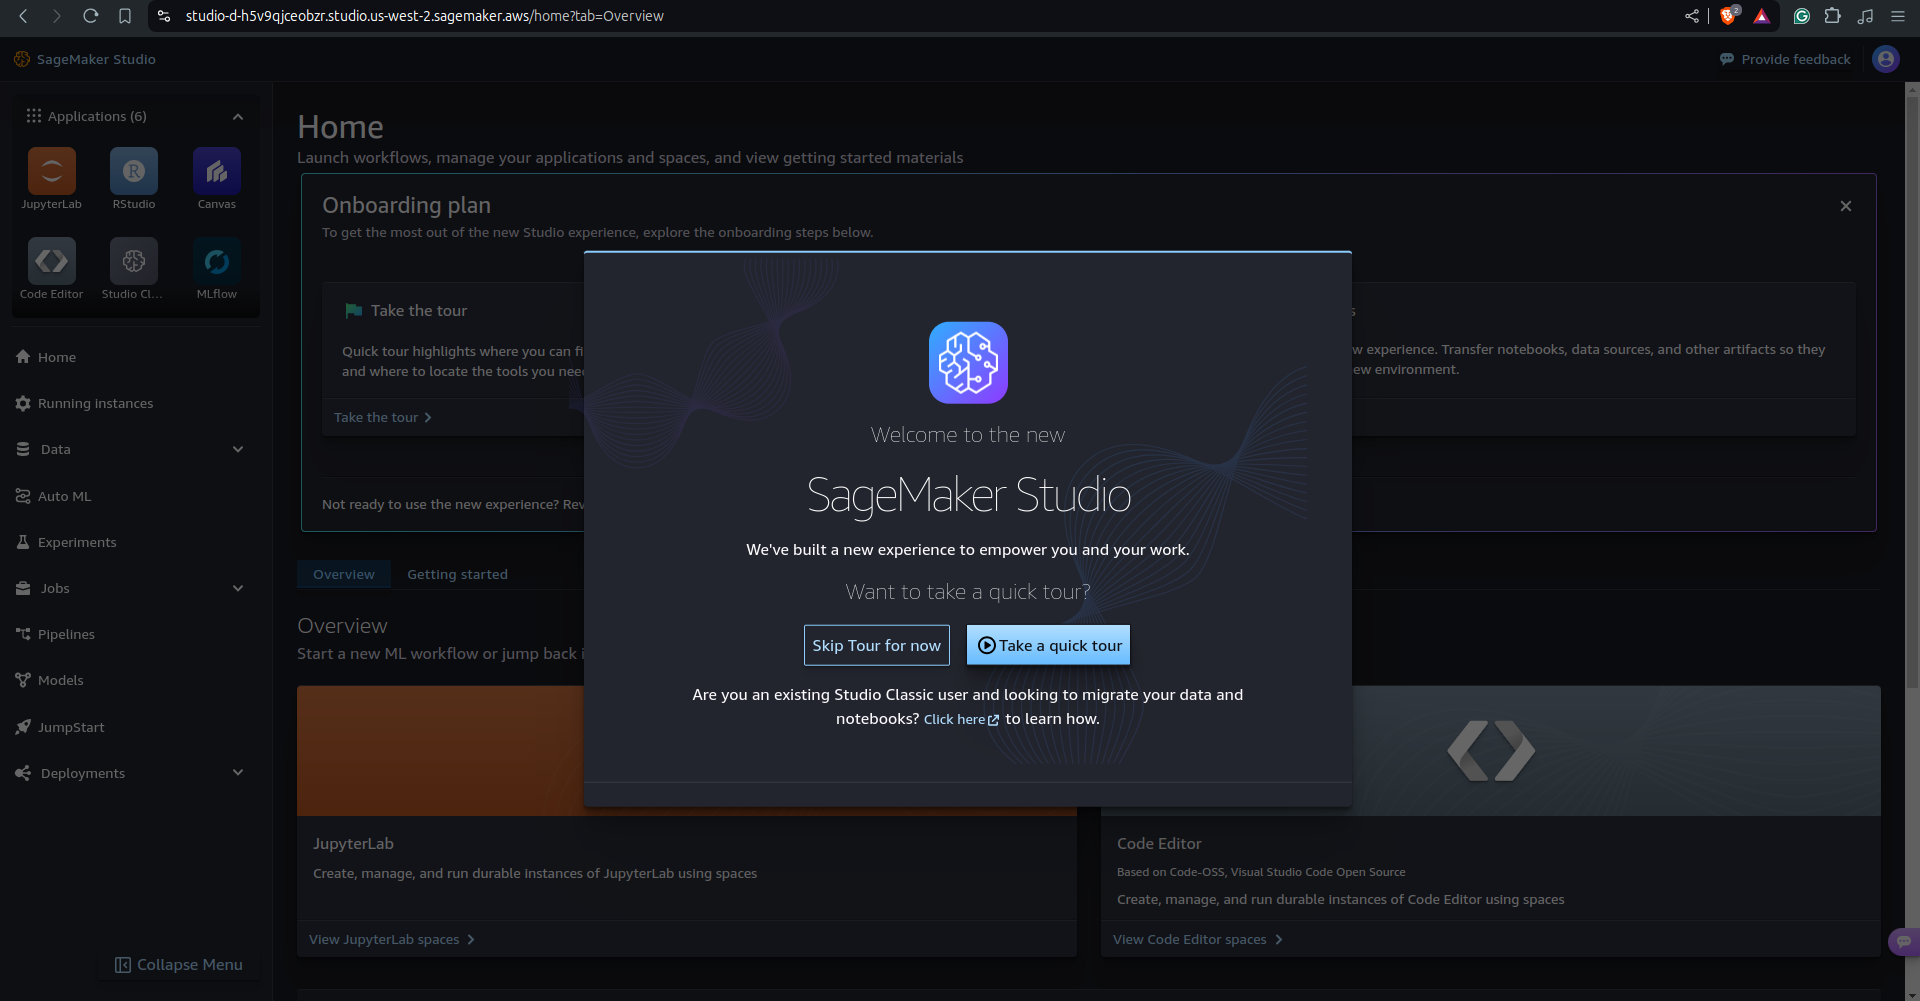
Click “Skip Tour for now” to get to the main SageMaker page. Here we can launch the interactive tools like JupyterLab and RStudio that you may be familiar with from the applications menu in the top left. We also have Studio Classic. In this tutorial we will be using JupyterLab, so click on “JupyterLab”.
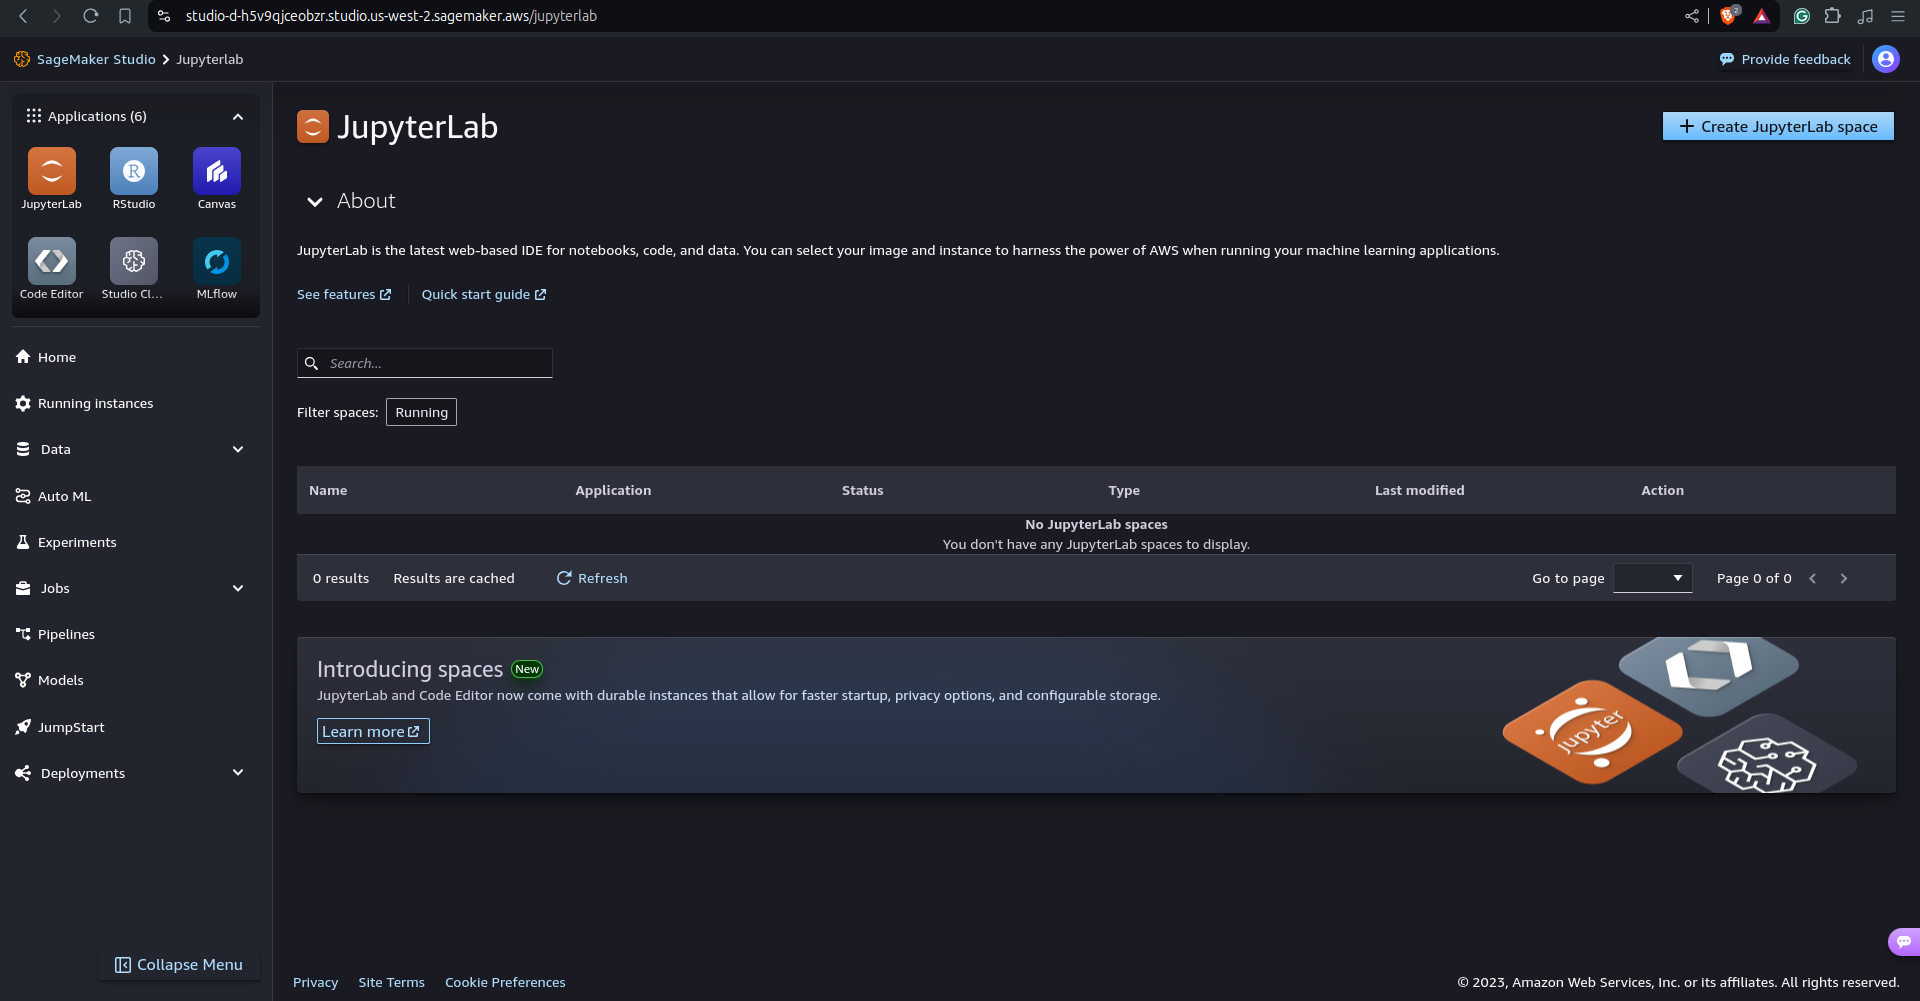
Here you will be able to see any instances of JupyterLab that others have opened up. In my case, nobody else has run JupyterLab in this domain before, so I will be creating the first JupyterLab space. To create a new space, click on the blue “Create JupyterLab Space” button in the top right.
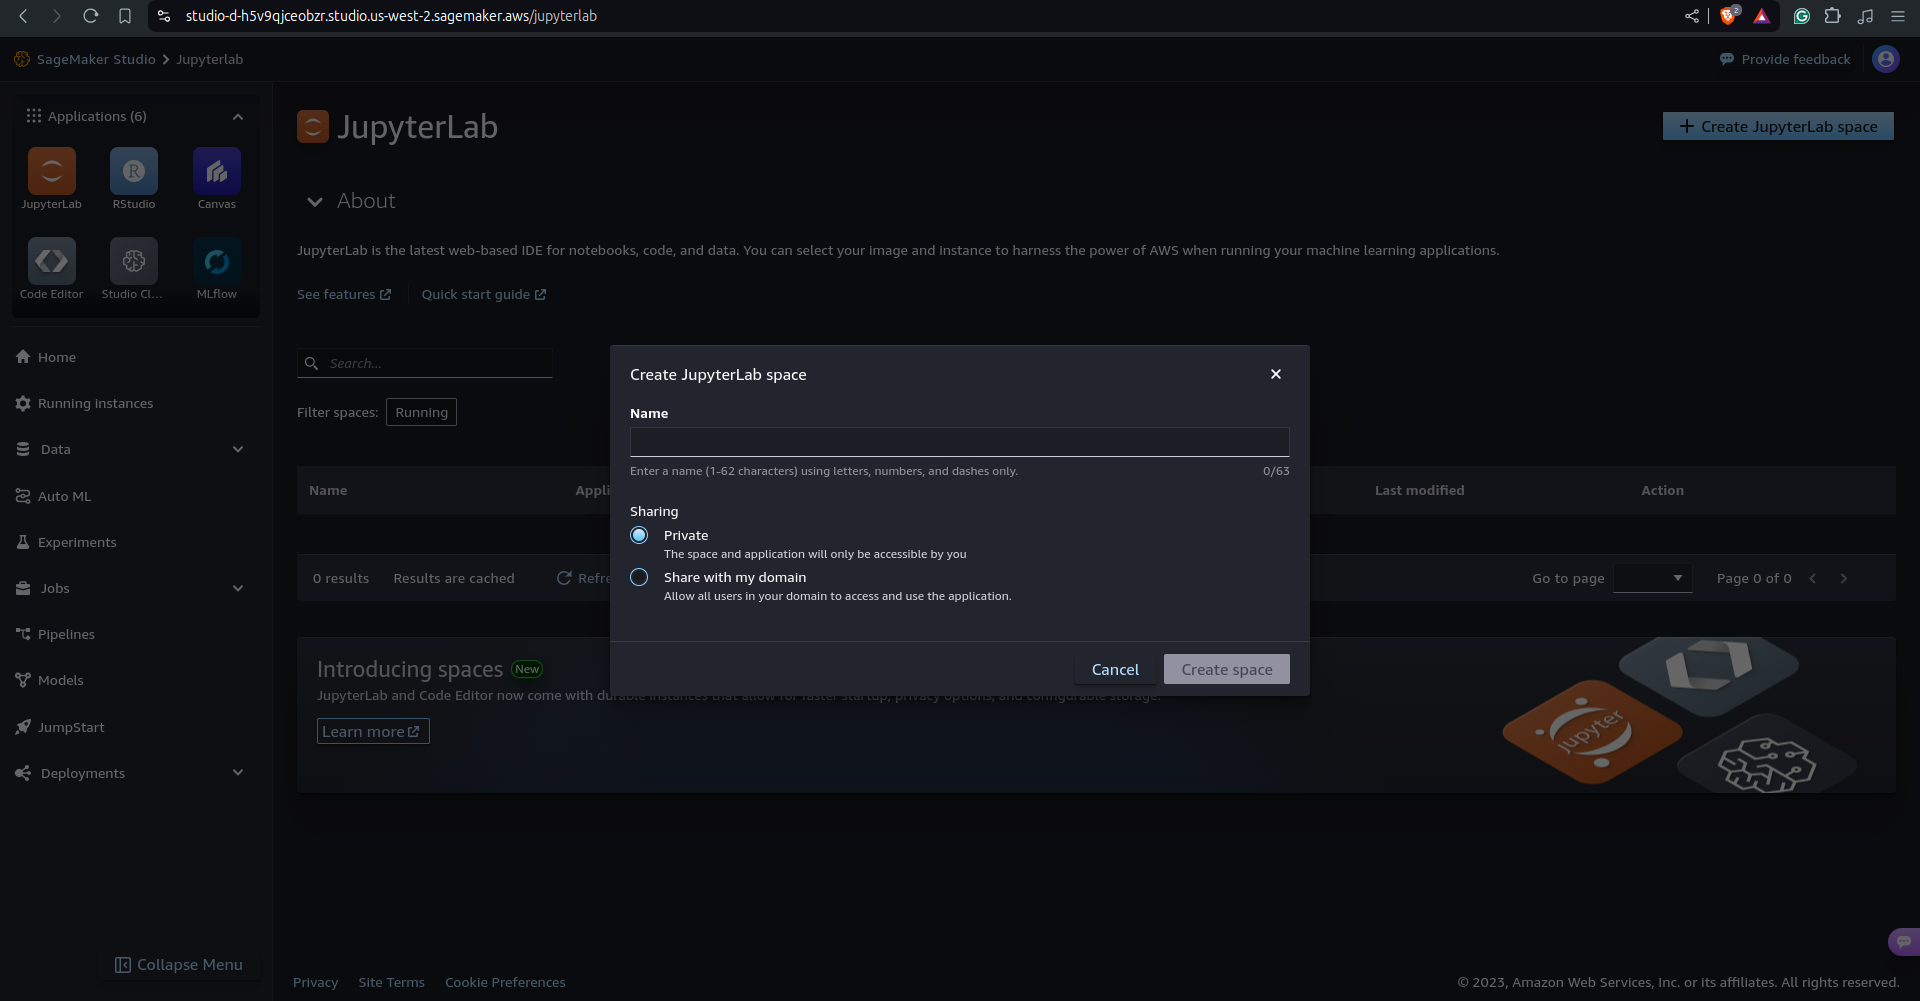
Now add a descriptive name and choose the “Sharing” setting for this space. I will call this space “gordon-lichtstein-1”, and keep it private. Now click on “Create Space”.
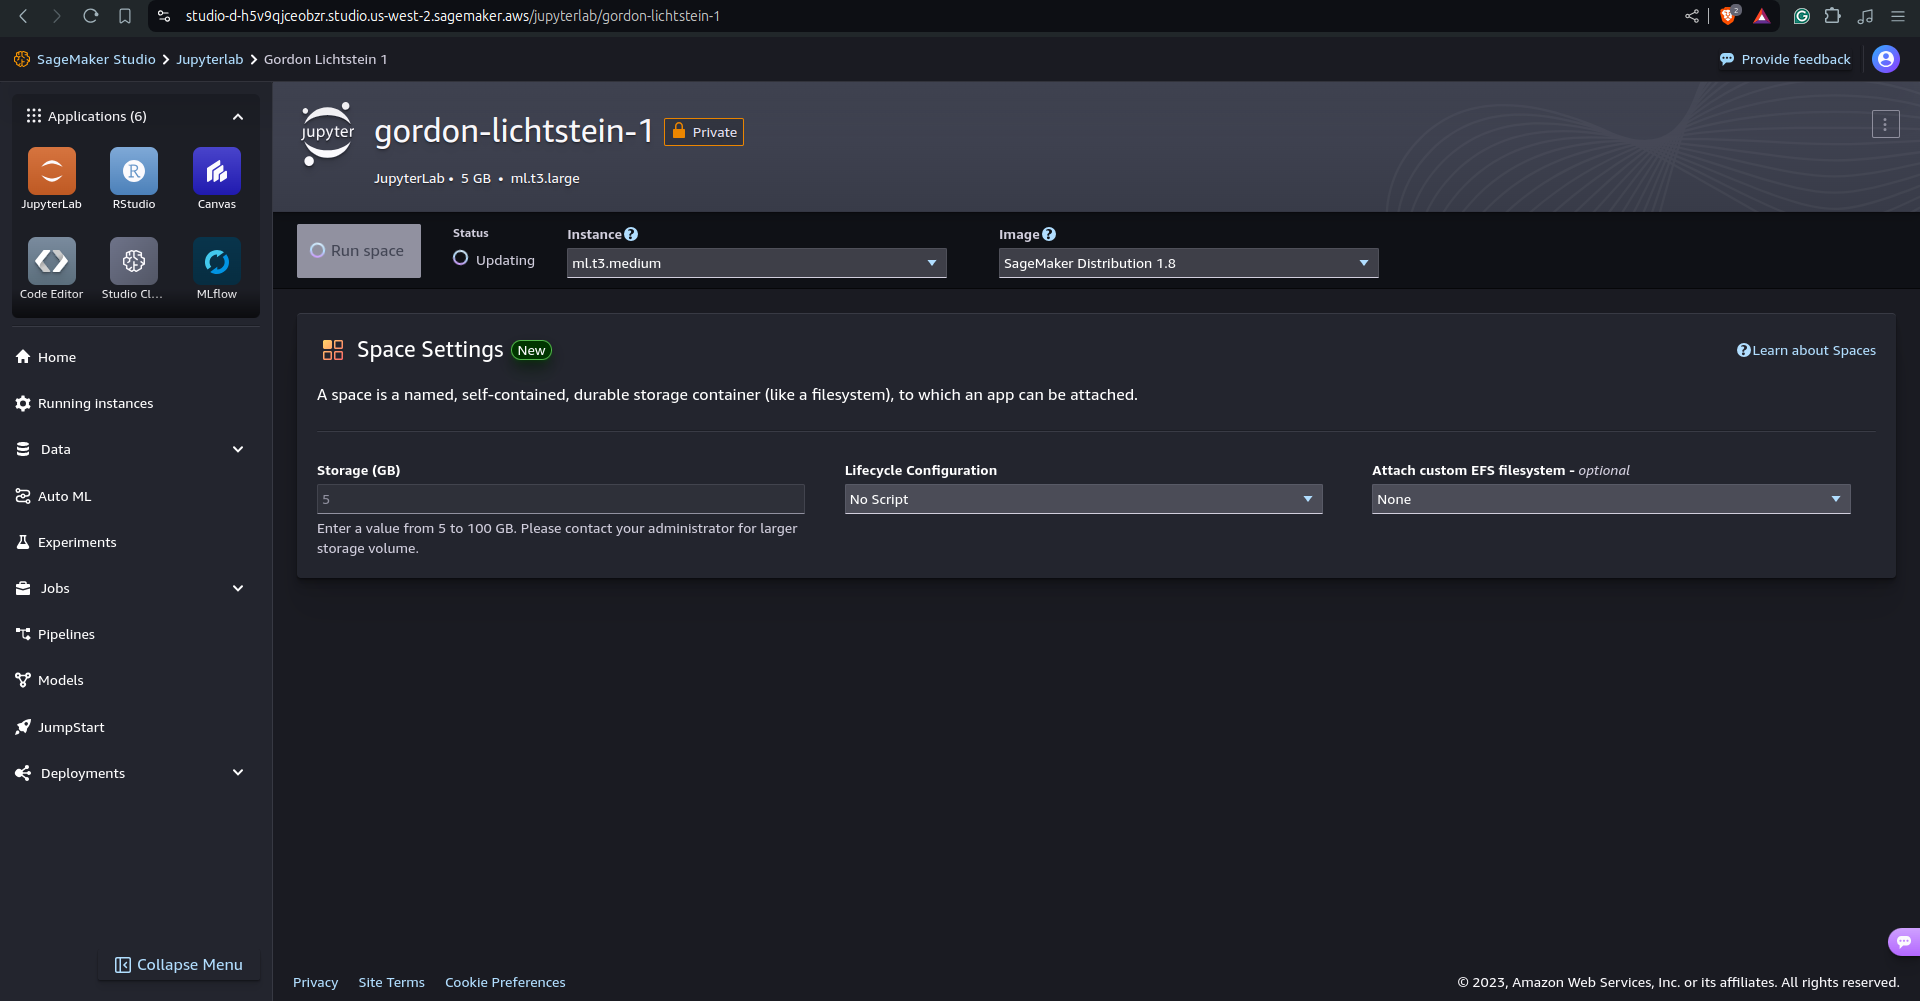
This opens up the page where we specify the resources we want our space to have. I am going to keep everything as the default, but if you need a more powerful space then you can change the “Instance” next to “Run Space” to something higher. If you need more storage, you can increase that under “Space Settings” as well. Now click on “Run Space”. This may take a few seconds to a few minutes to start. Once it has started, you will see the screen below.
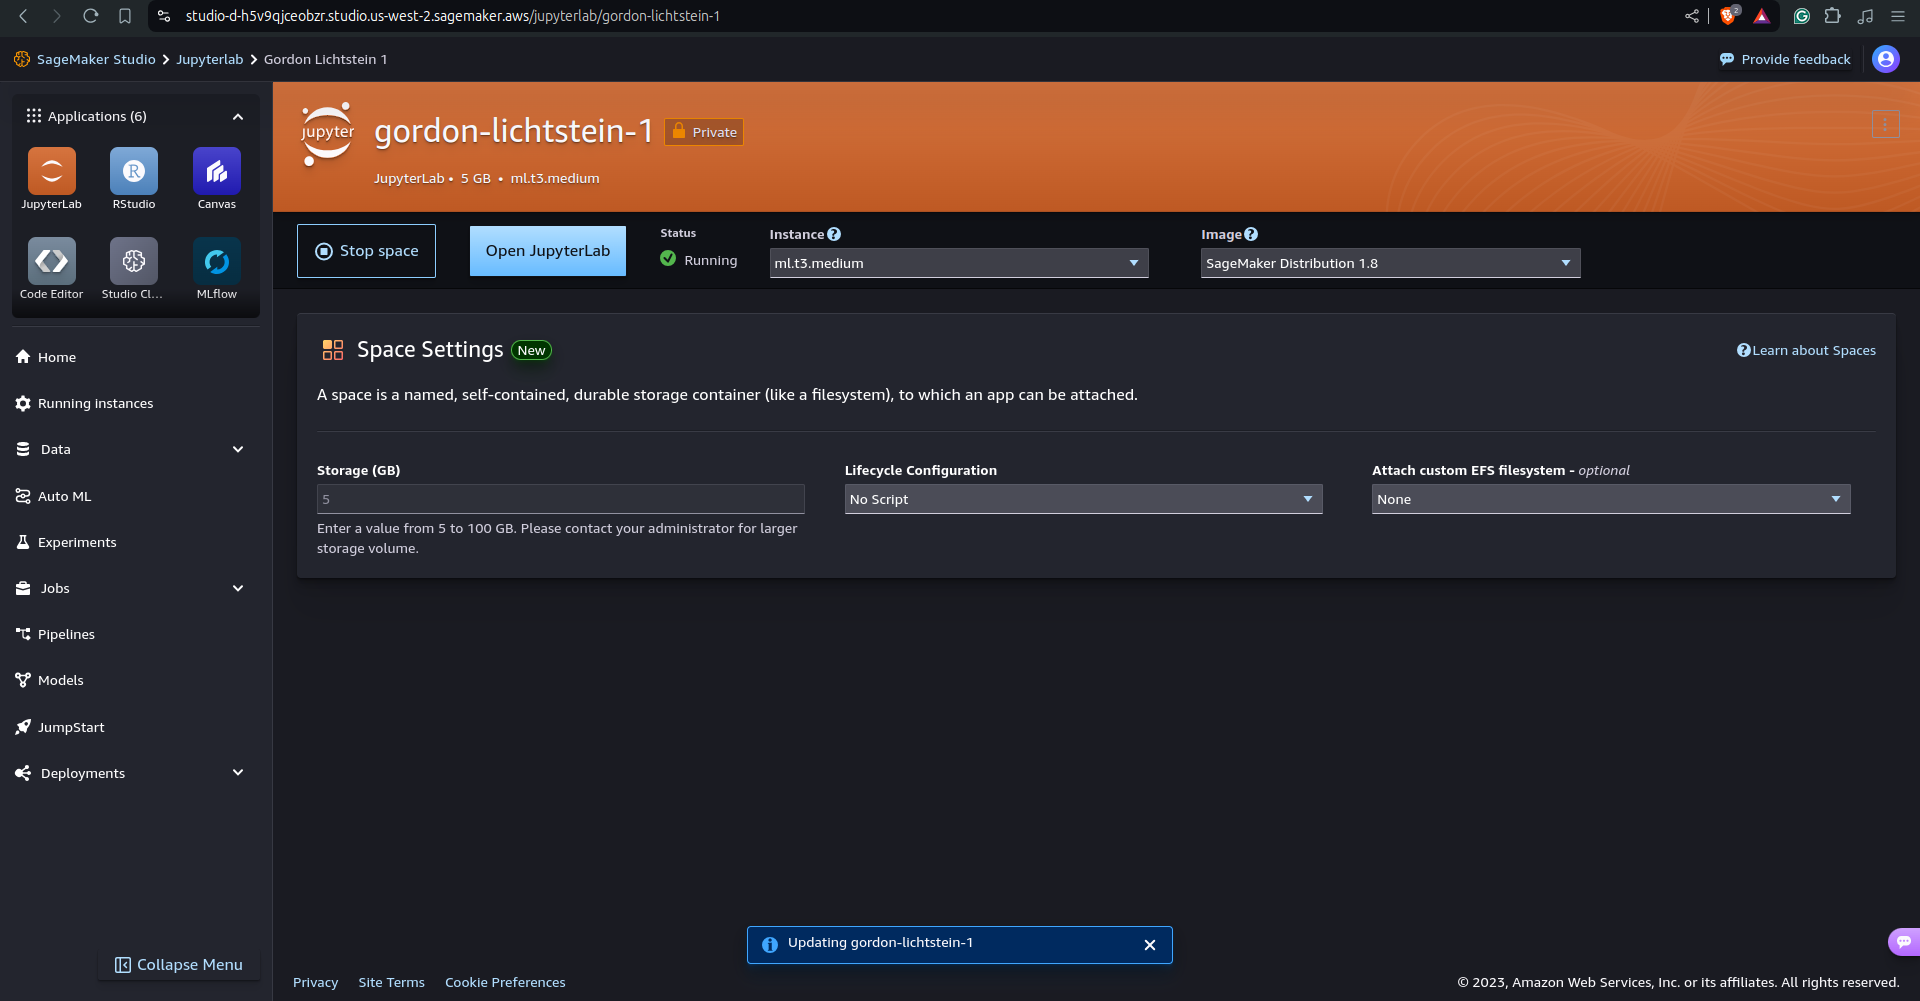
To enter JupyterLab, click on the Blue “Open JupyterLab” button. This will open yet another new tab, which might take a bit to load.
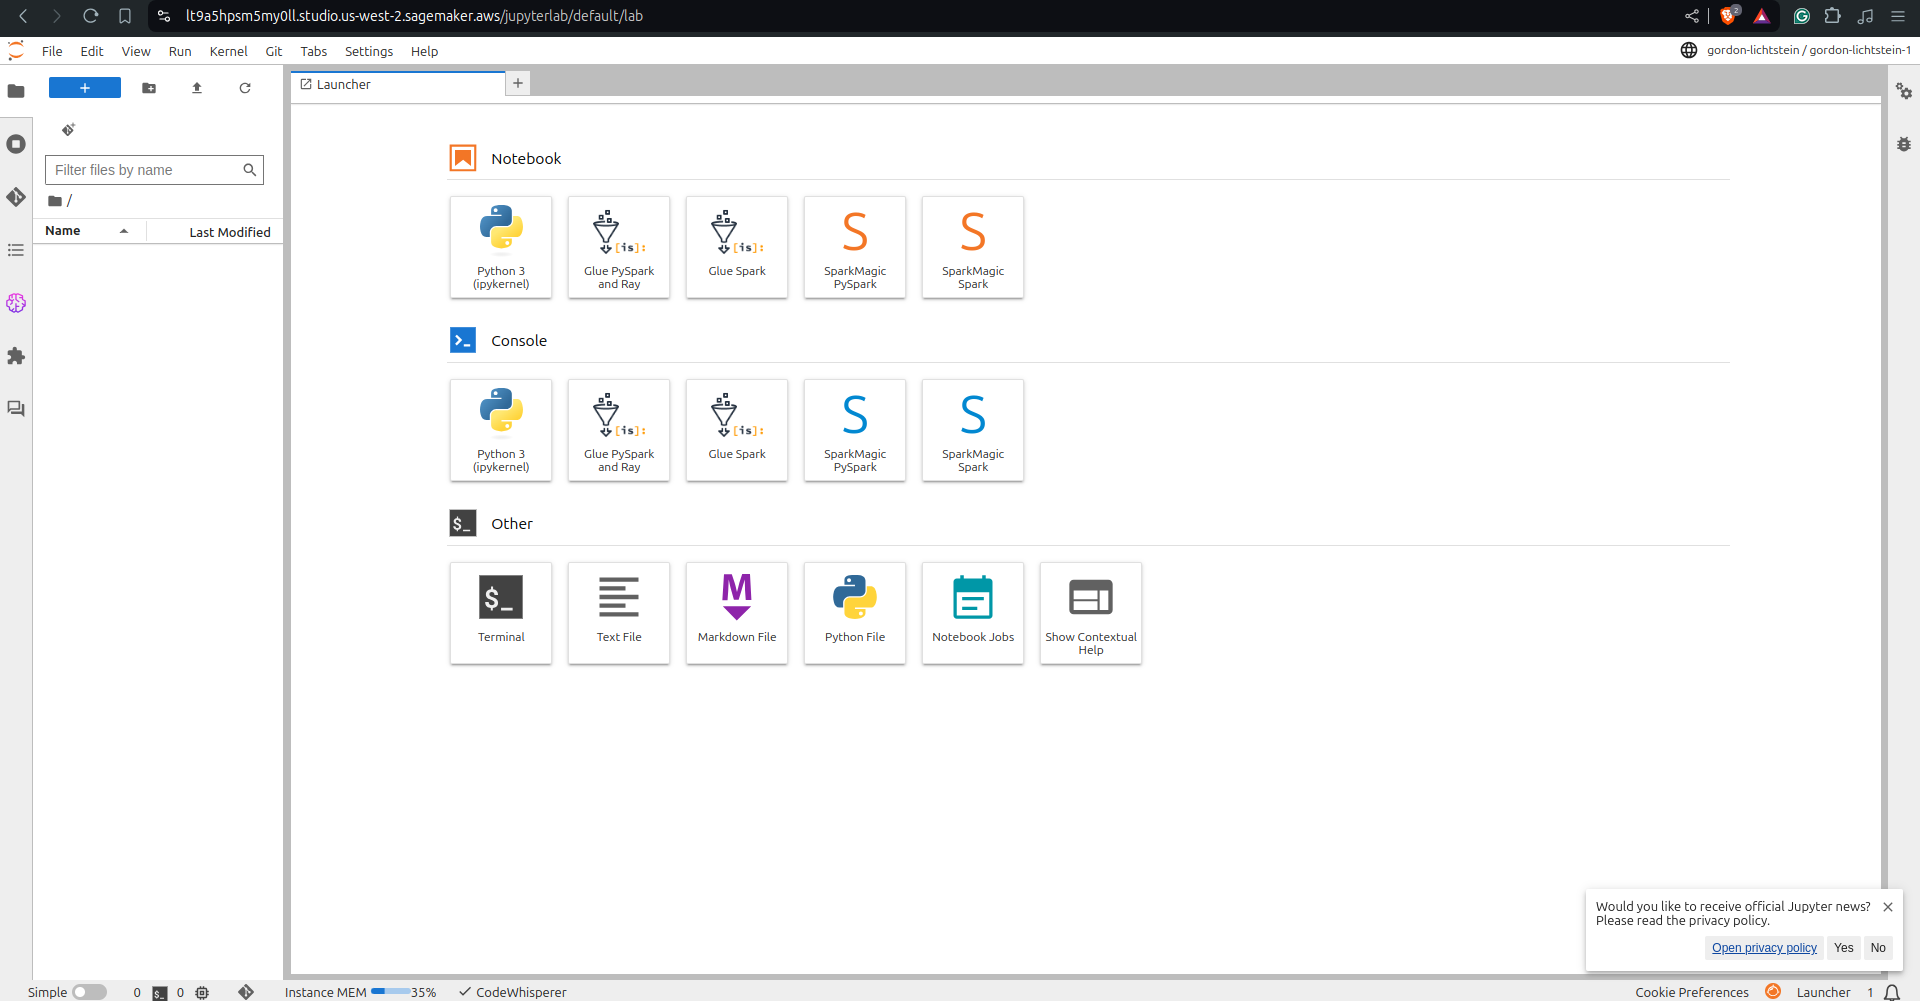
We want a Python notebook, so clik on “Python 3 (ipykernel)” under “Notebook”. This is the first option.
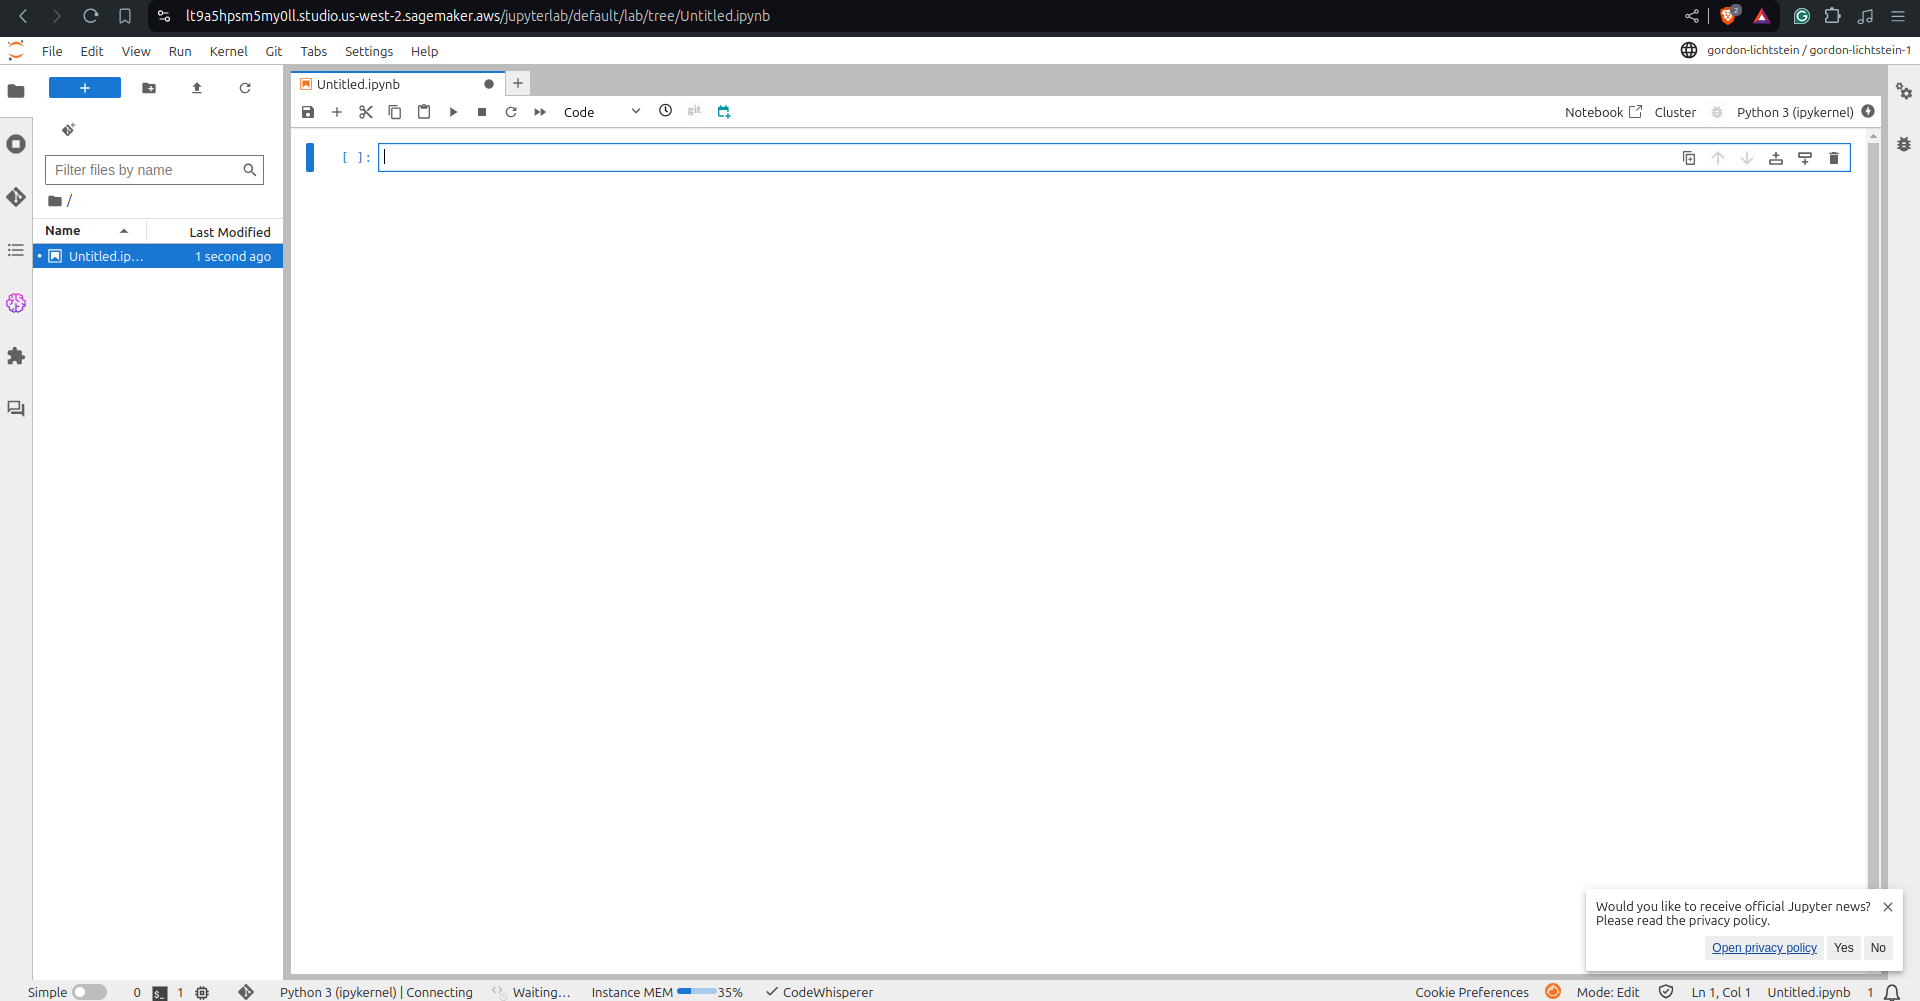
And we’re in!
Hello World
Click into the first cell (the one that is highlighted blue and at the top of the screen under the toolbar), and type the following code:
print("hello world")
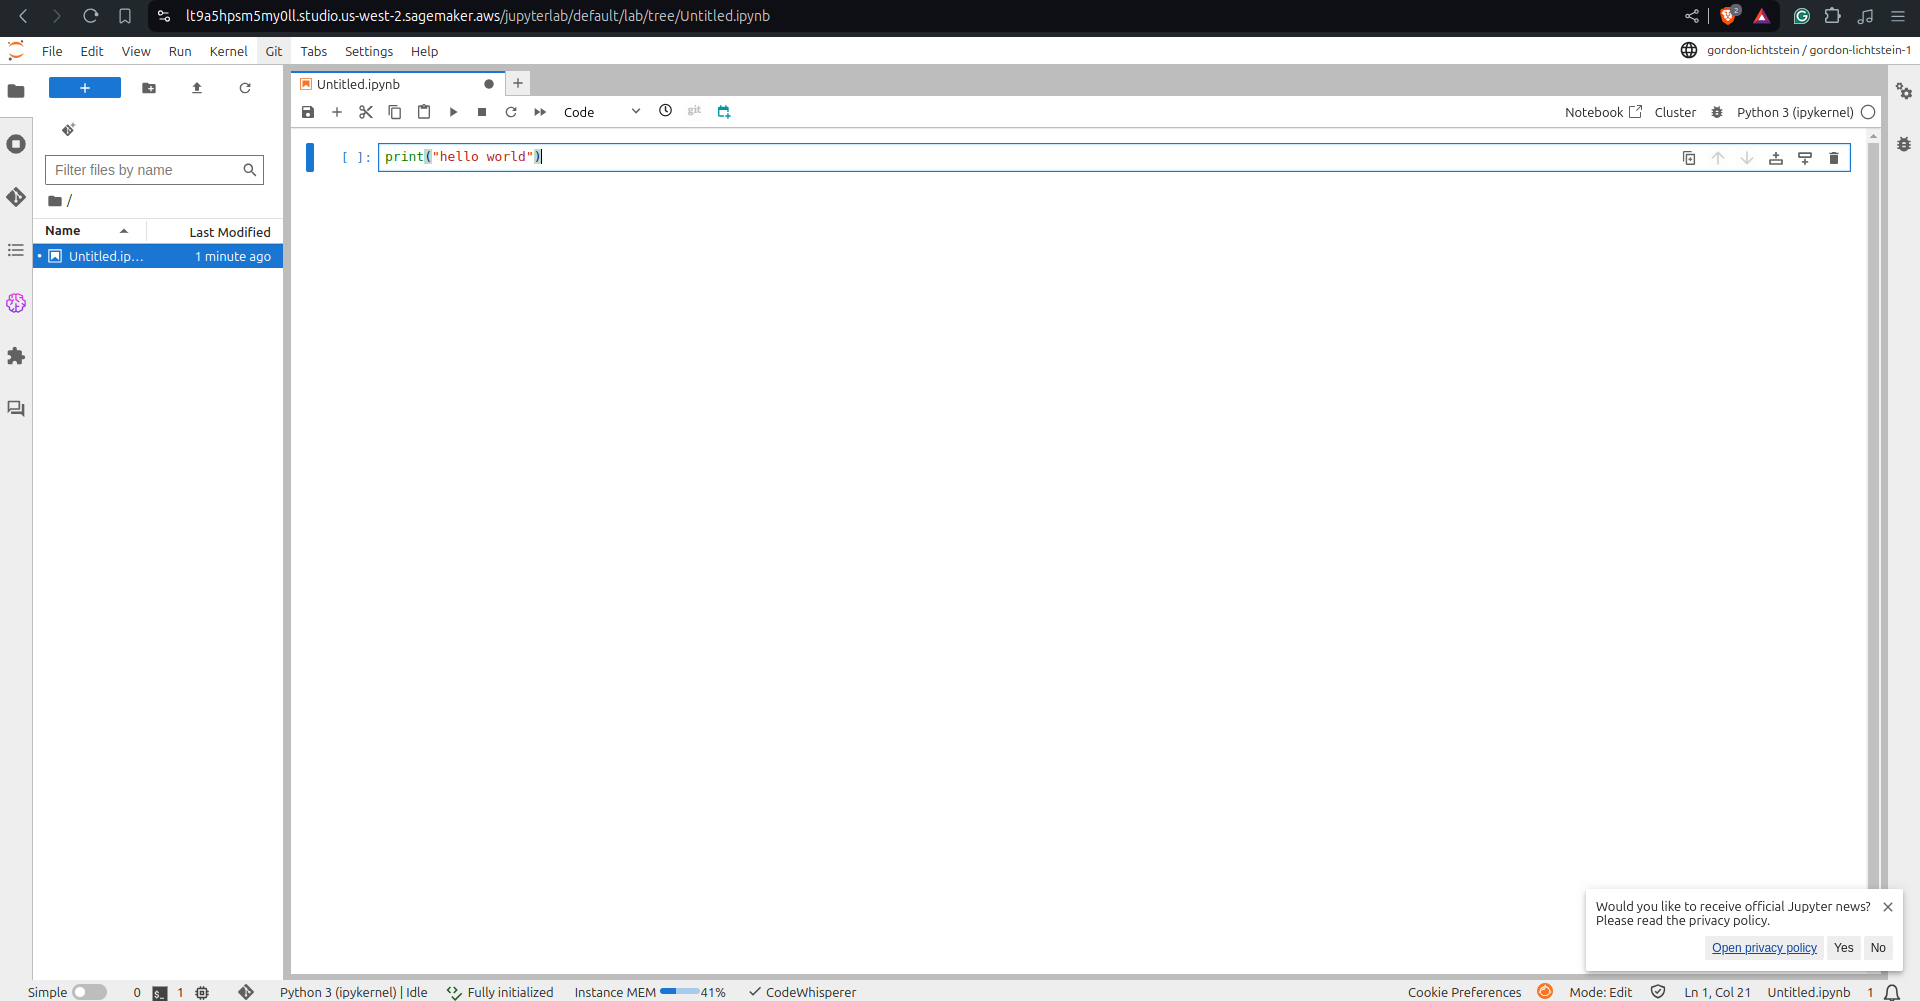
Now we want to save our file before we run it. Click the floppy drive icon under “Untitled.ipynb” and give the file a descriptive name (here I’ll use “lichtstein-test.ipynb”).
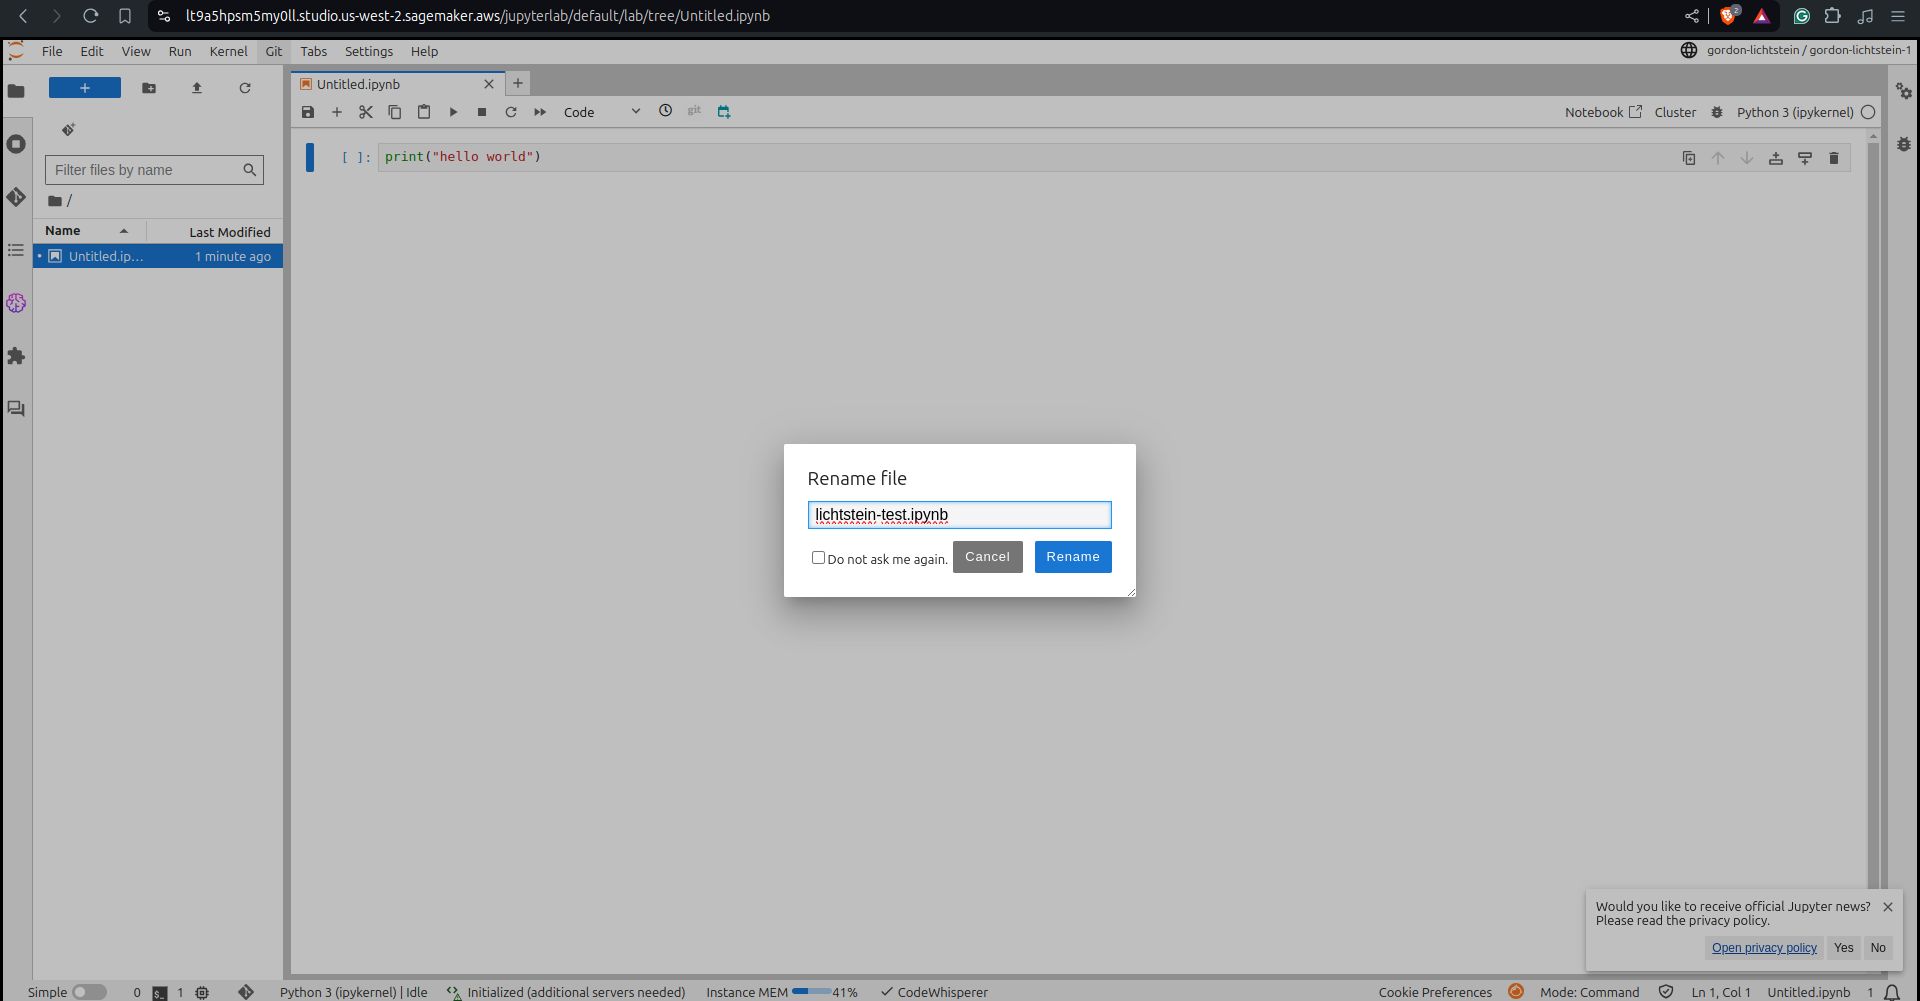
Click “Rename”. This returns us to the screen we were just in, except the file name is now changed.
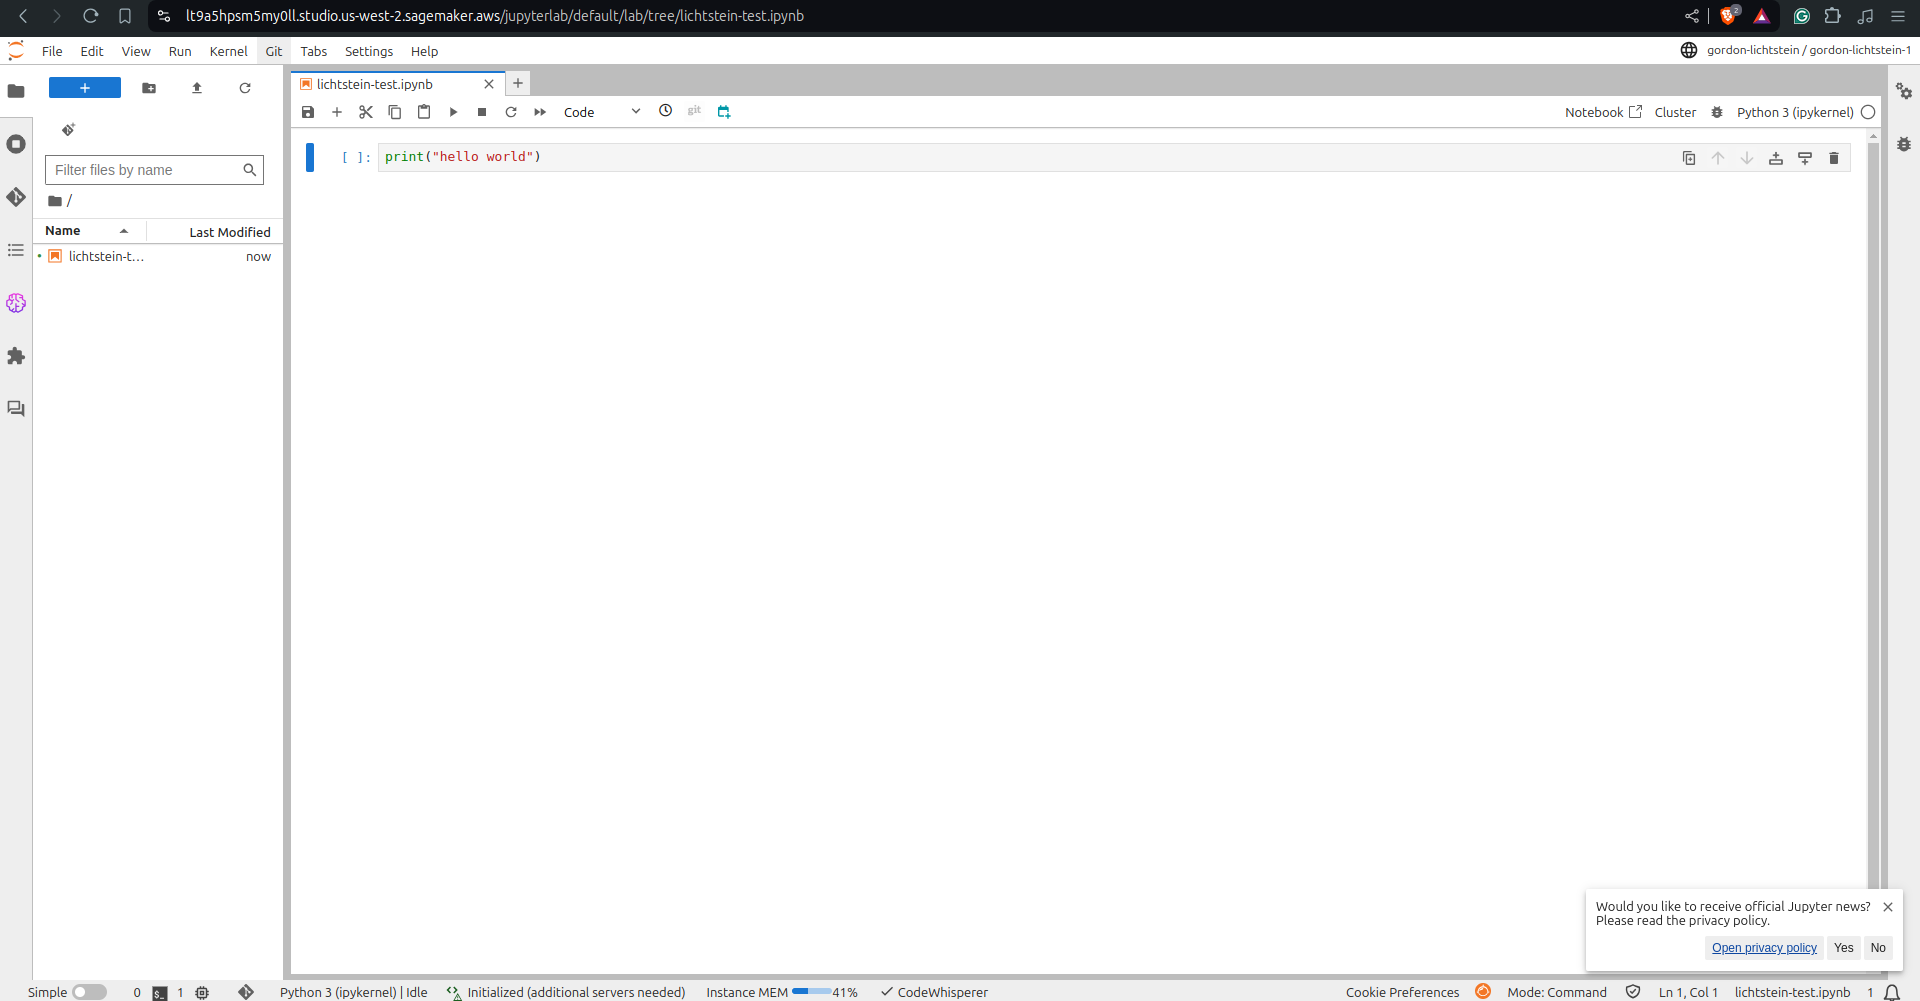
Click on the single triangle play button right under the file name. This will run our cell.
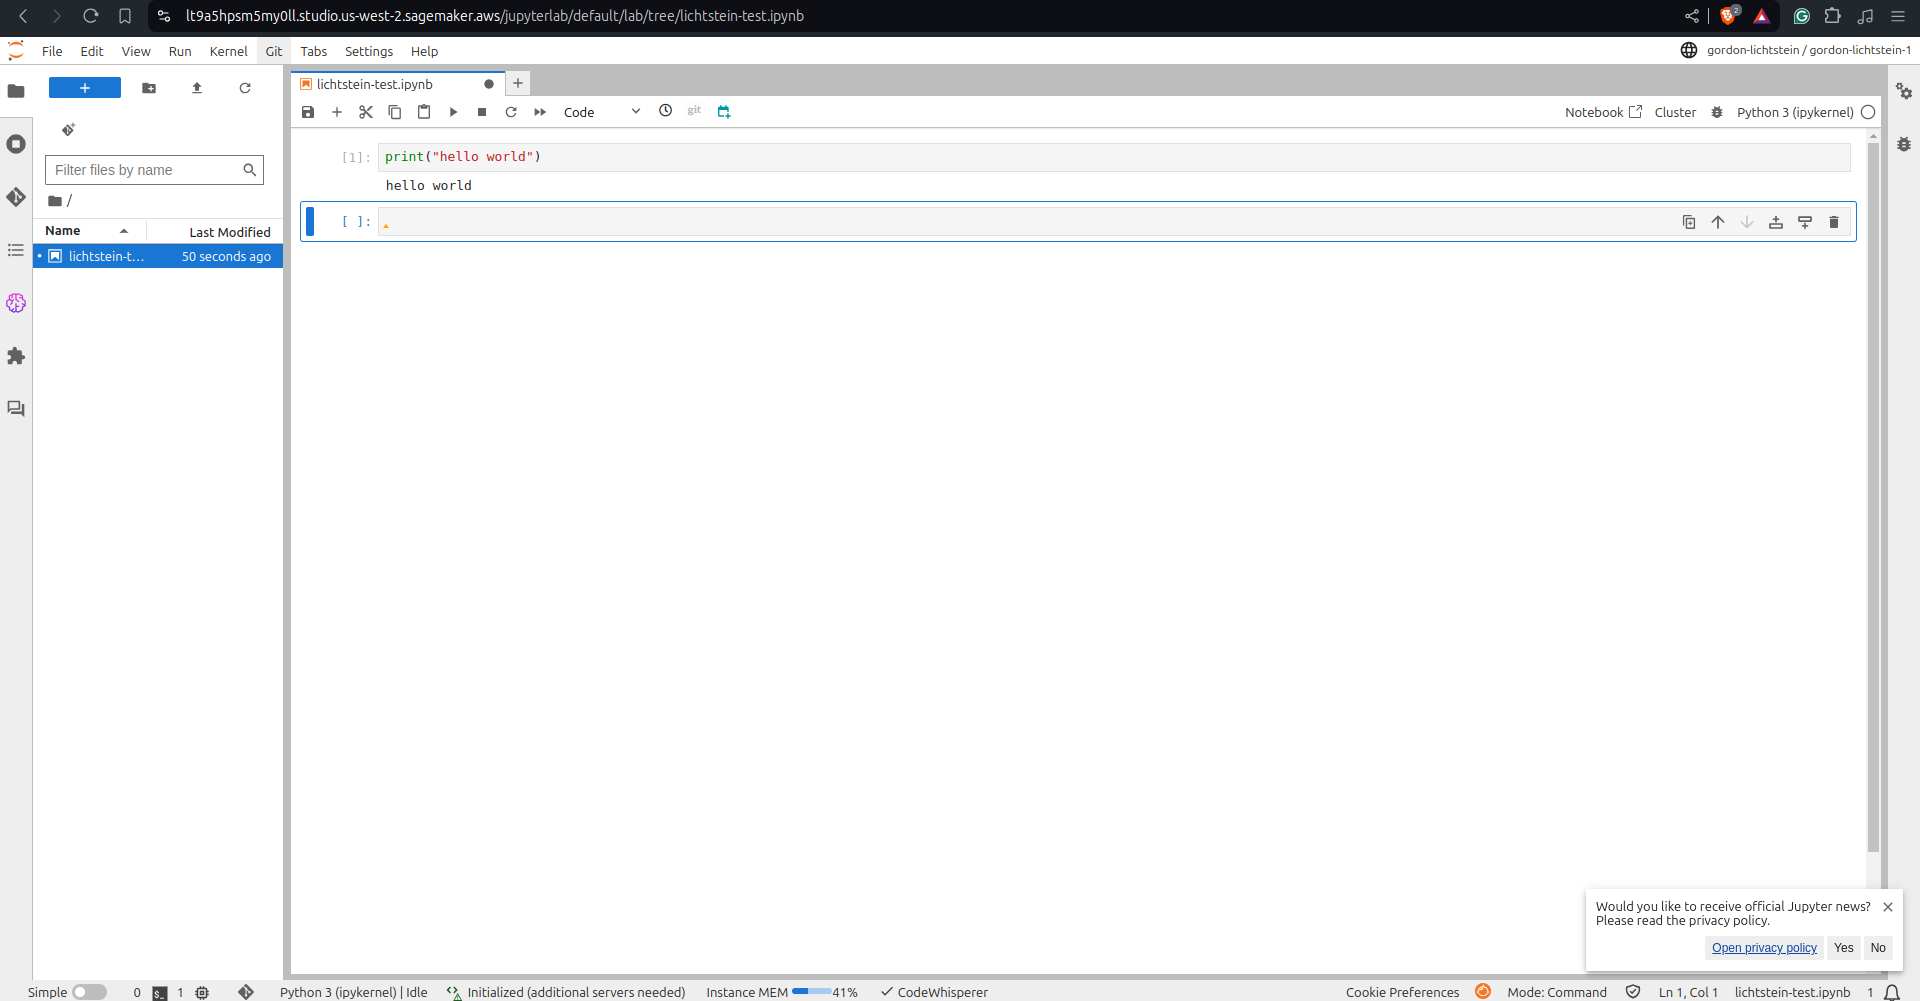
And there you go! We just ran hello world in SageMaker’s JupyterLab. You can run whatever other code you want in this notebook, but in later tutorials we will show you how to access Textract, Comprehend, and Rekognition in it.
How to Exit
This is an extremely important series of steps, as UCSF gets charged for the amount of time we use SageMaker and JupyterLabs on their servers. We must be sure to stop our space or else we may rack up fees.
To do this, exit the JupyterLabs tab you are in, and navigate back to the JupyterLab space configuration console we were at before (shown below).
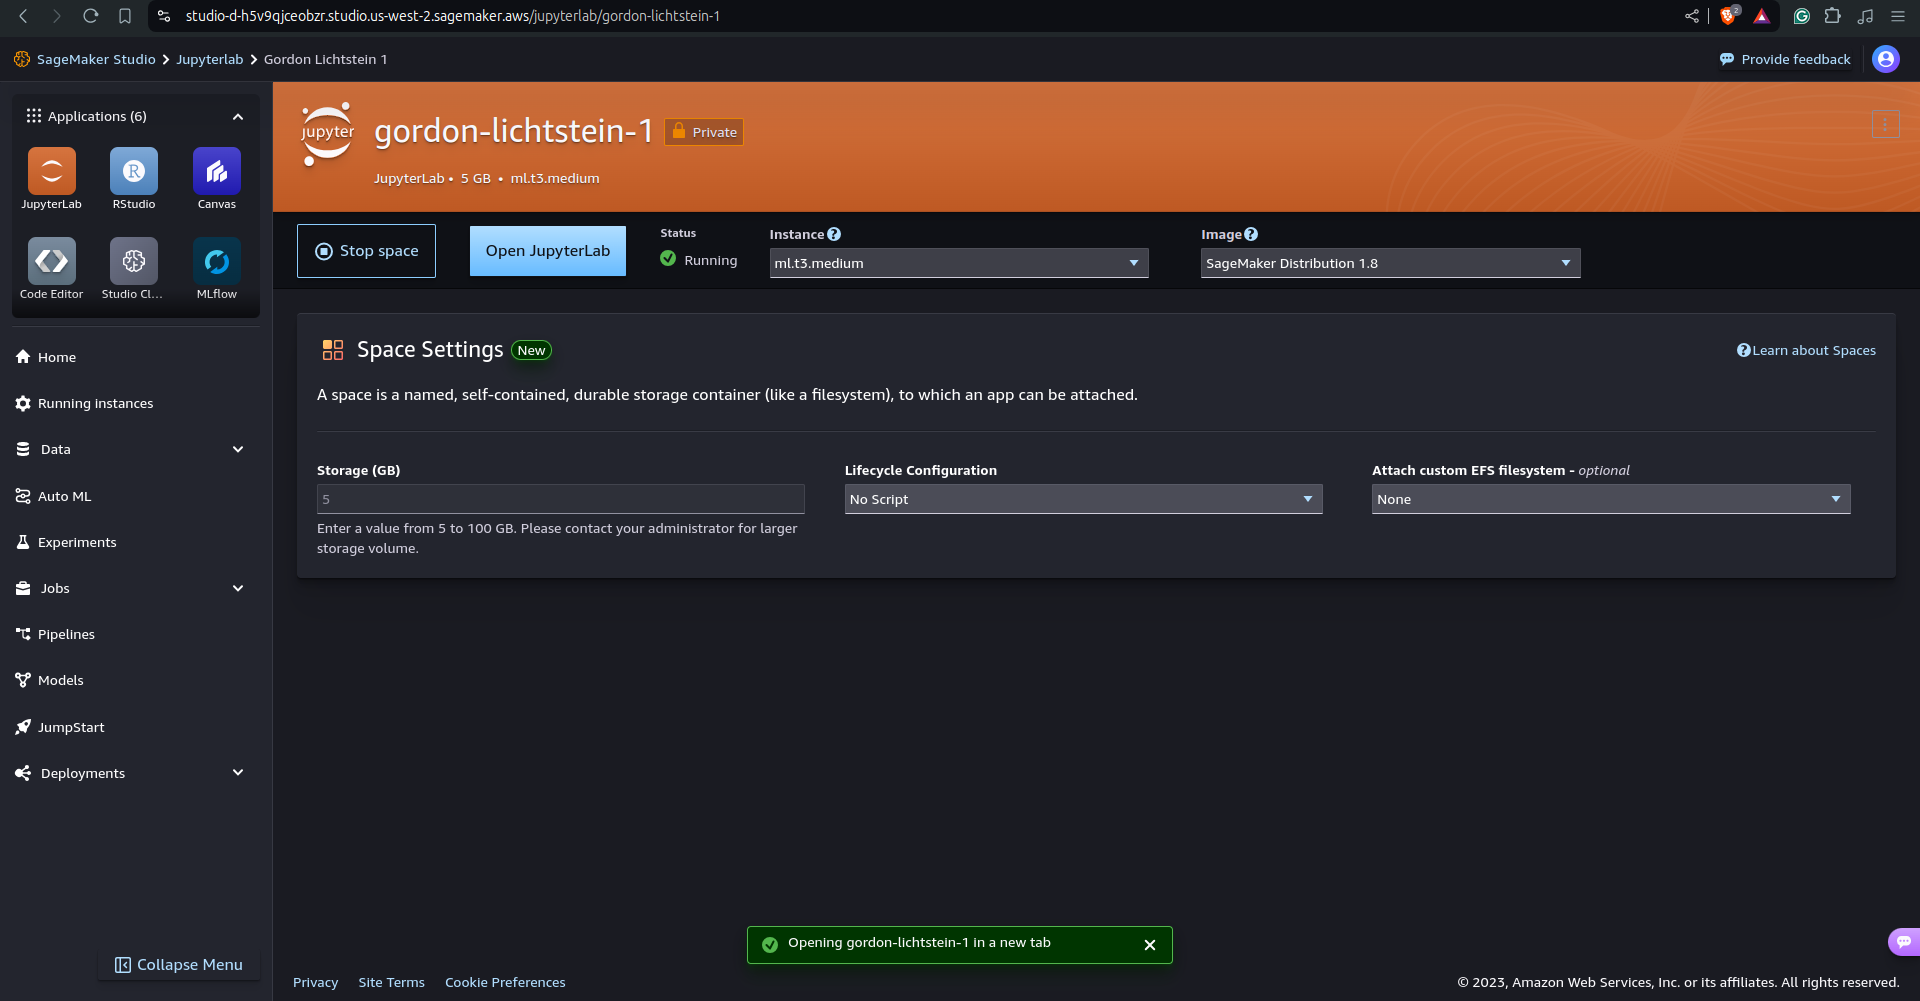
Now, click “Stop space” right next to “Open JupyterLab”. This gives us a warning to make sure it is what we want. It is. Code we wrote, files we saved, and other important things will not be deleted. Only instance variables will be, which means that we’d have to re-run all our code the next time we enter the space. Not a big deal usually.
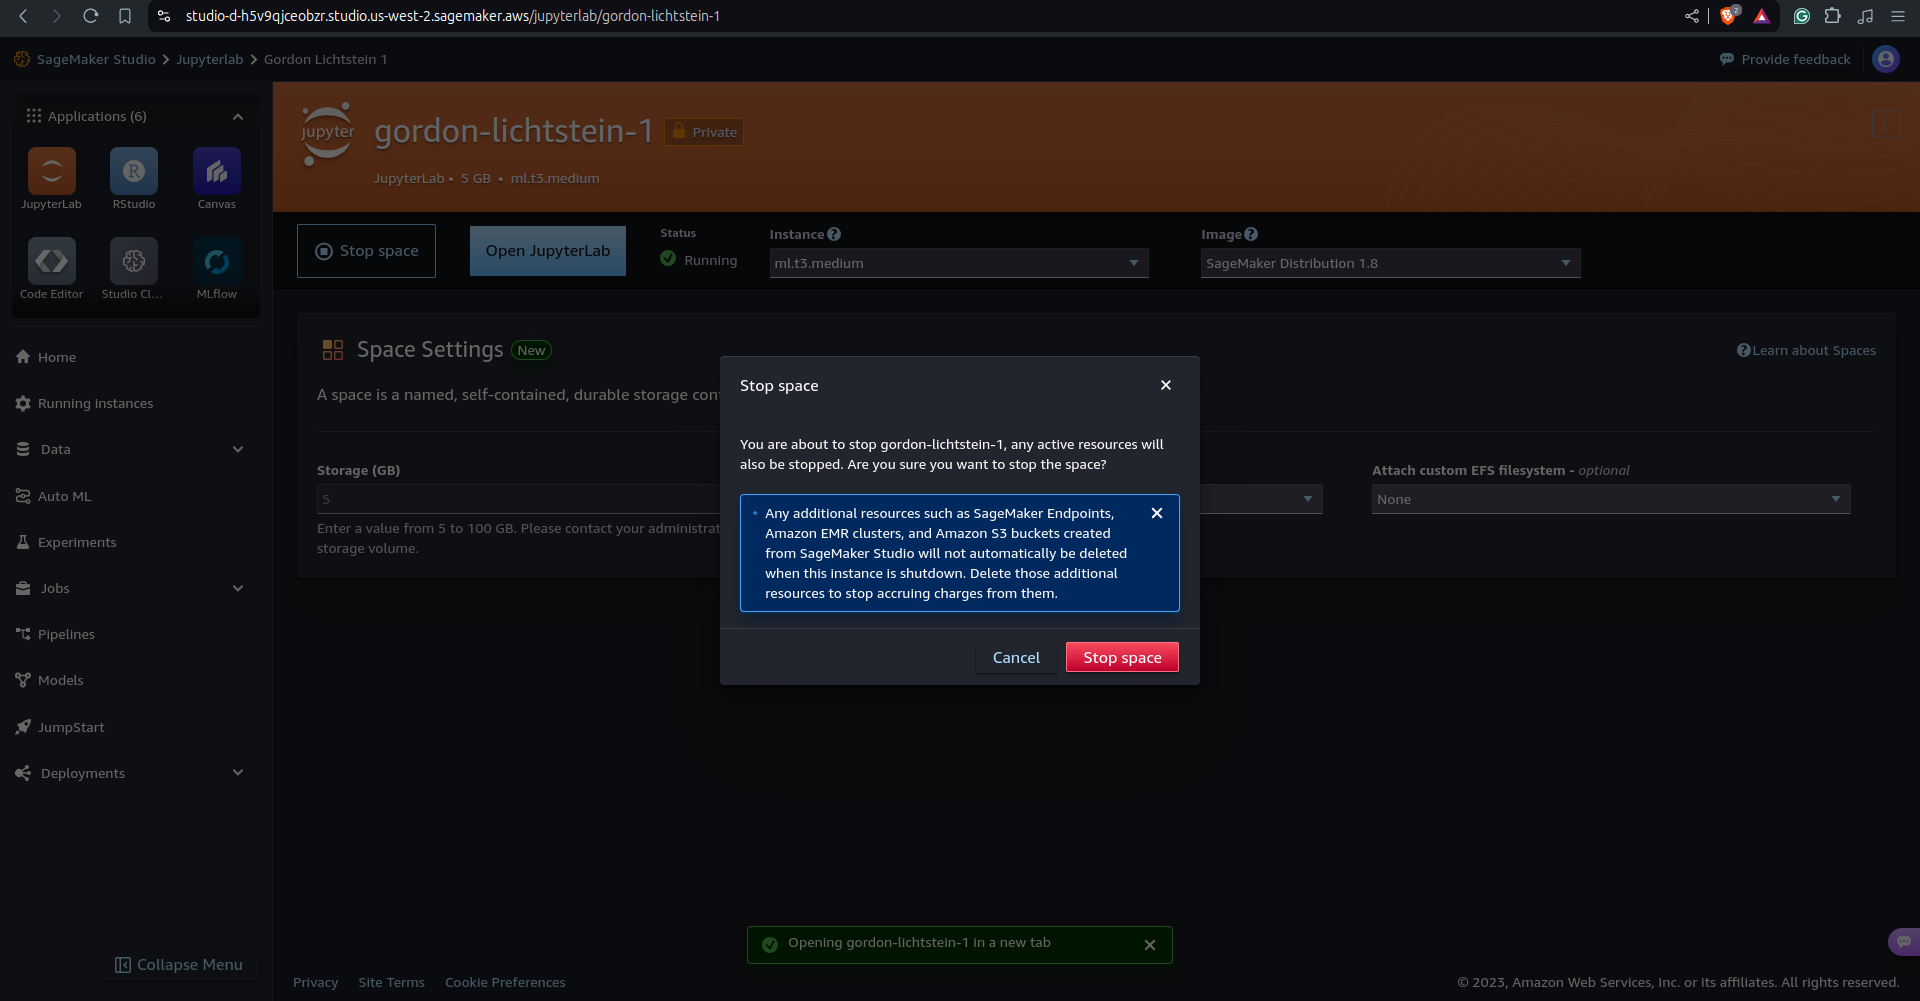
Click on “Stop space”. This may take a few seconds.
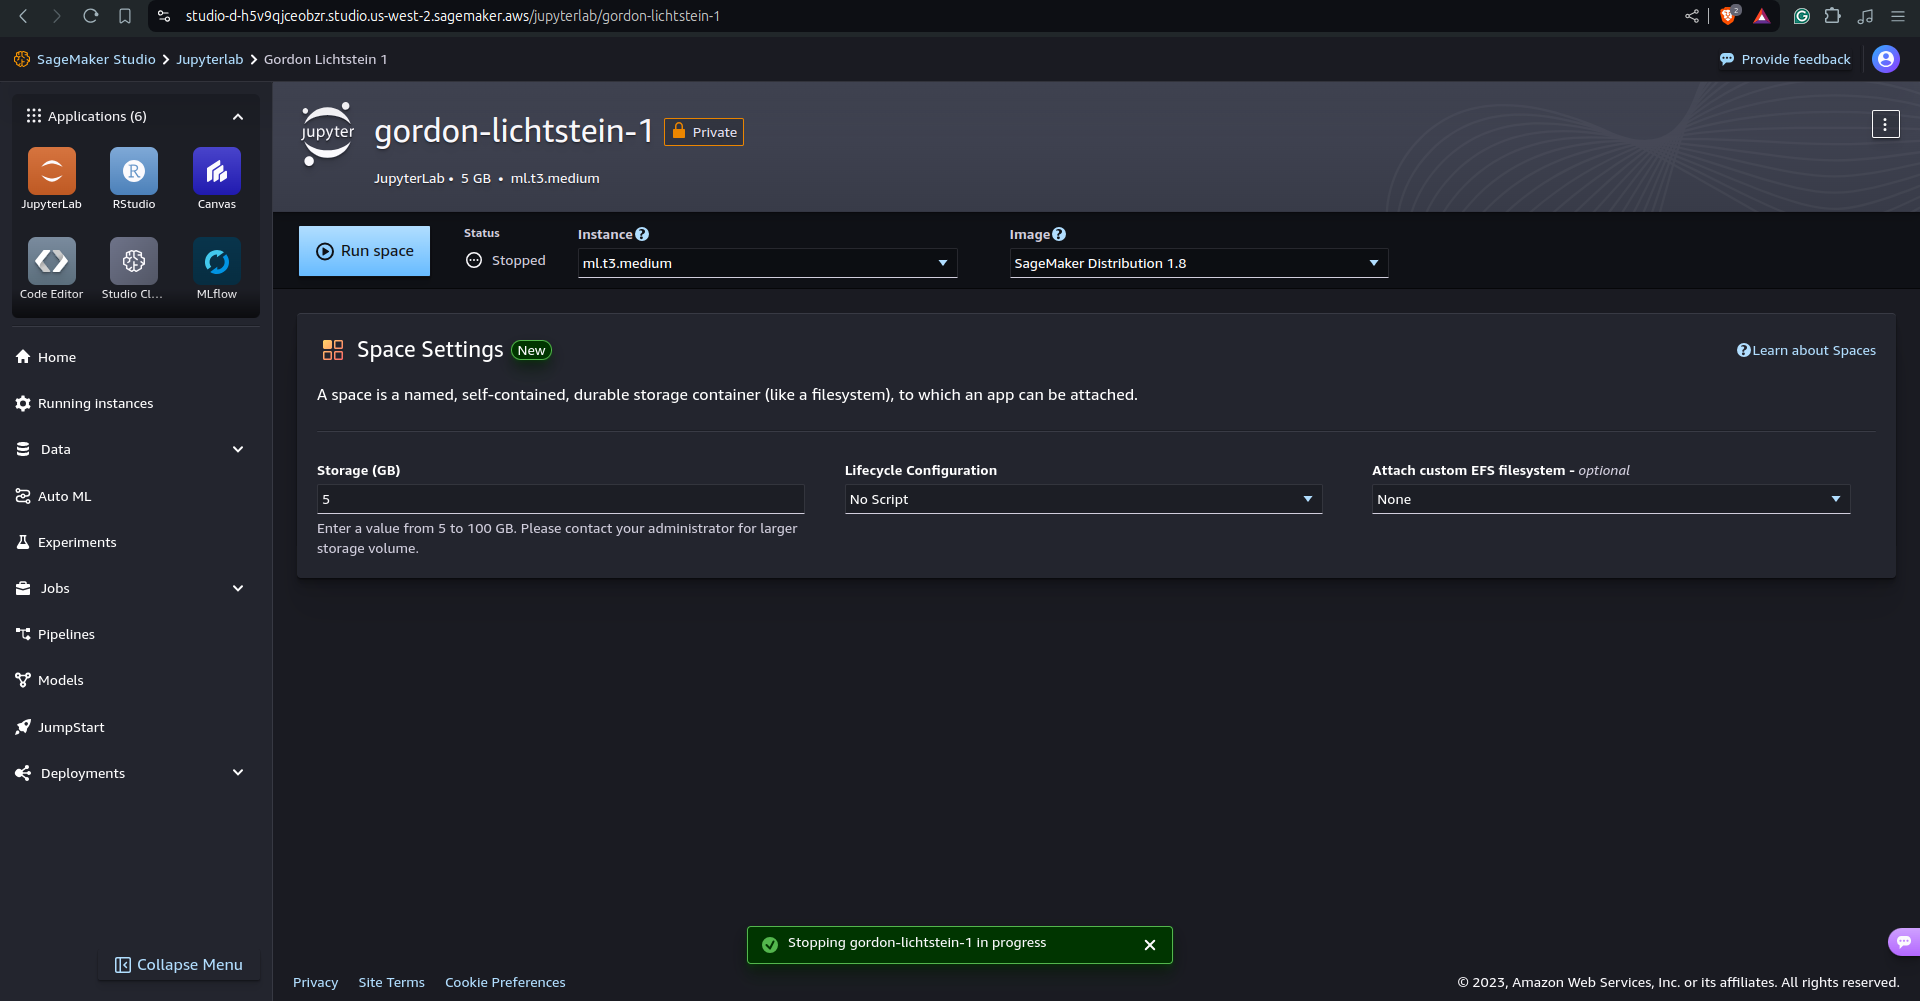
We are now at the screen we were at before. You’re done, so feel free to close these tabs.
Re-entering
To re-enter the space you just created, follow the steps above starting from “Opening SageMaker”. If you want to edit code from a previous session, launch that JupyterLabs space instead of creating a new one. Always be sure to stop JupyterLabs once you are done